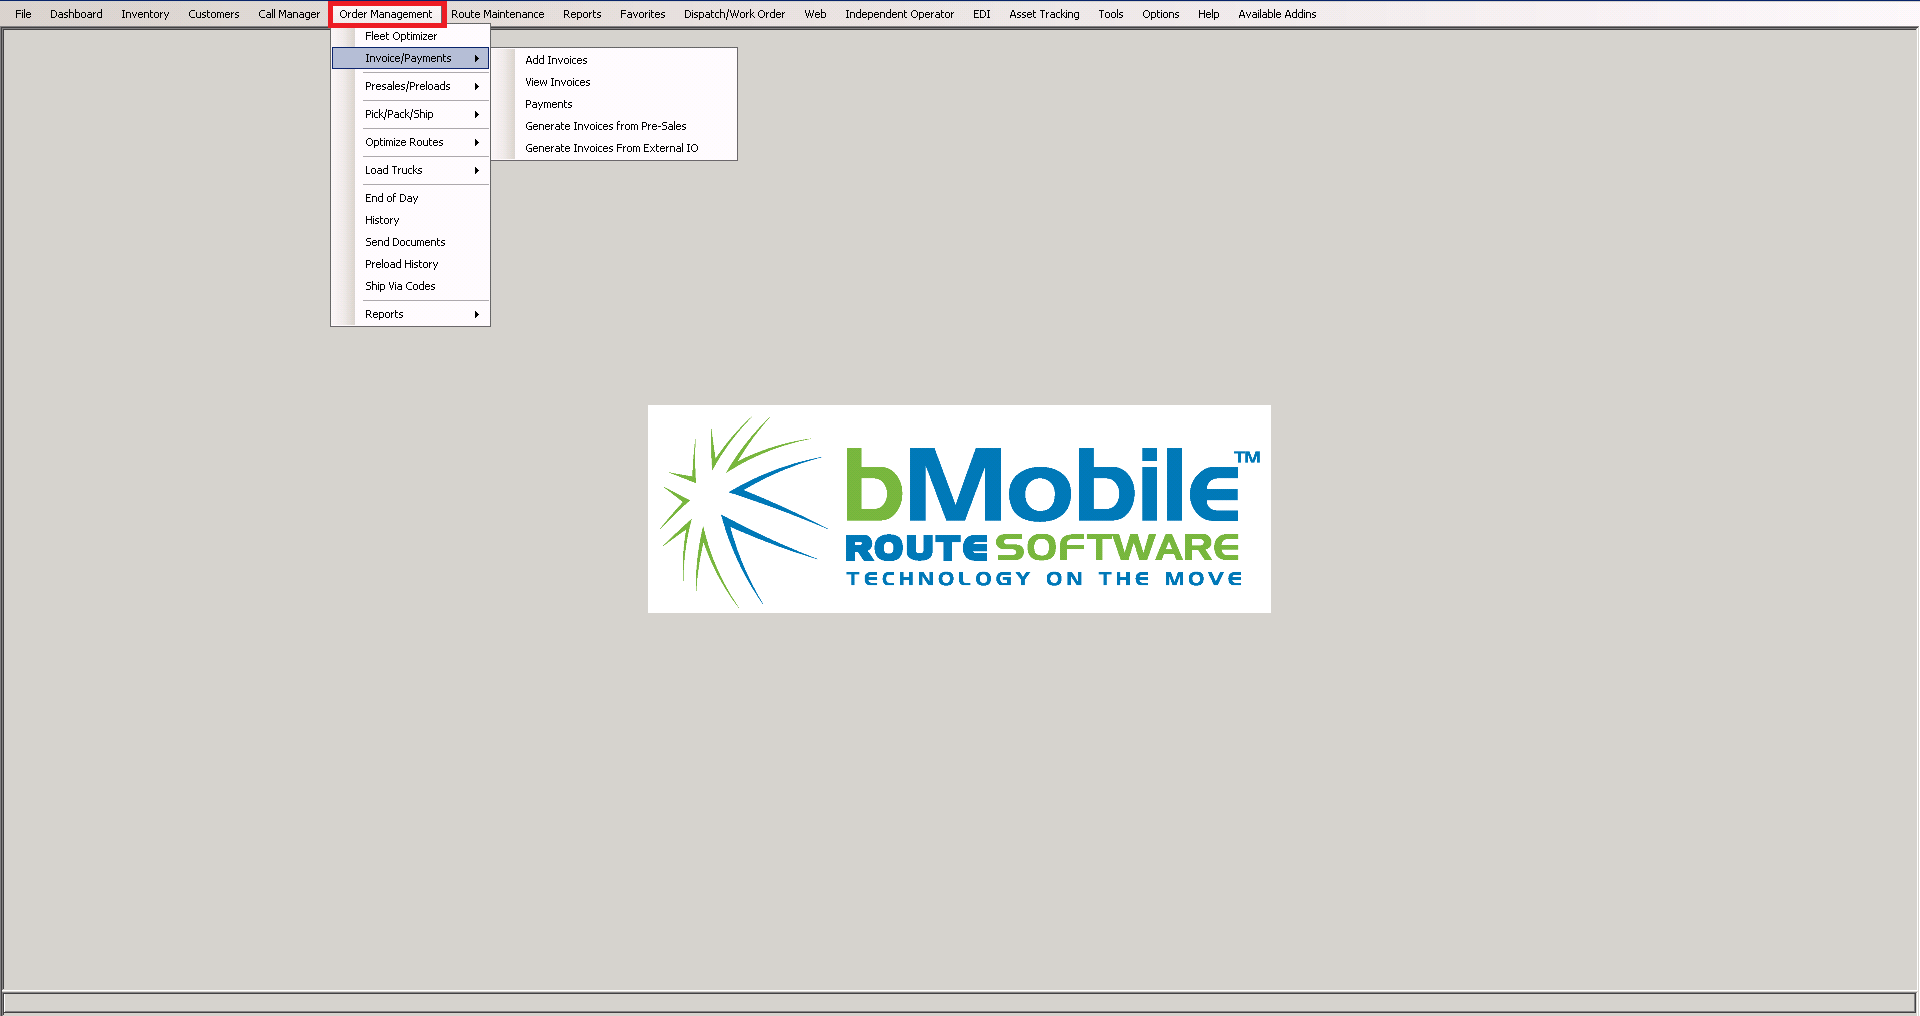
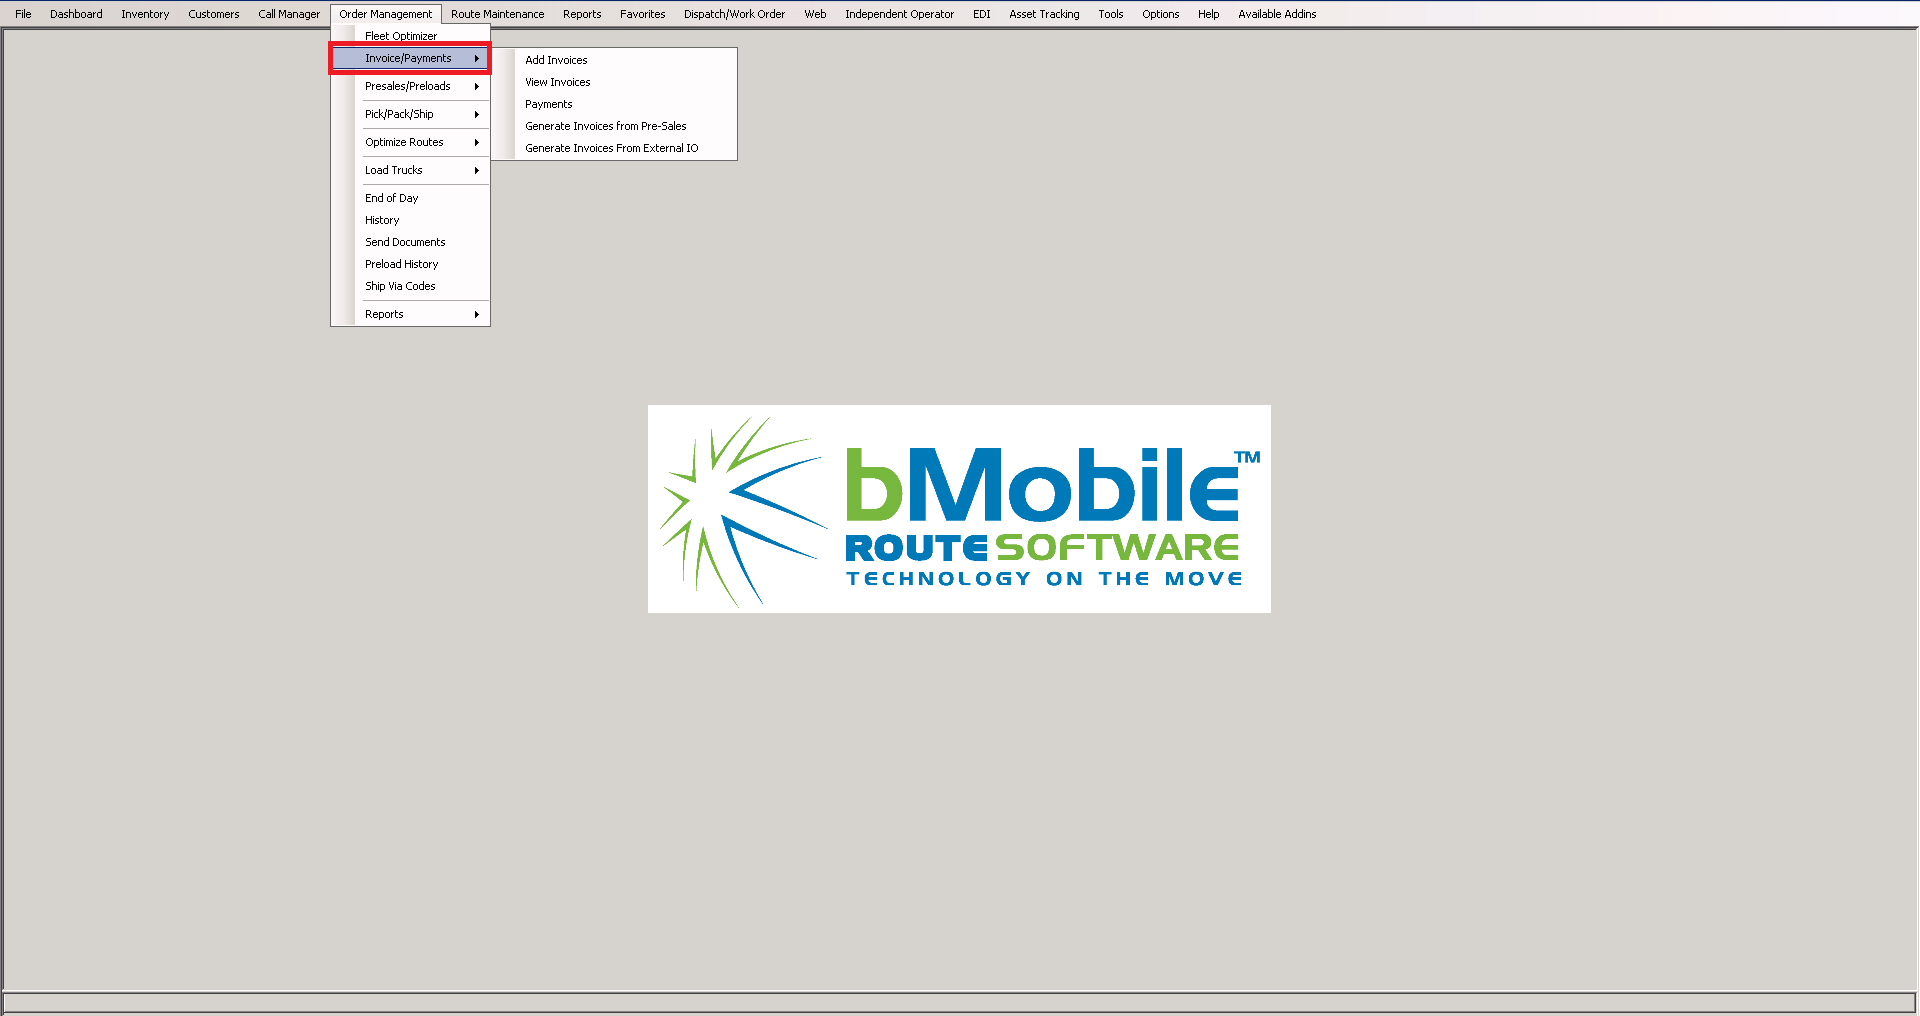
1. Select Order Management
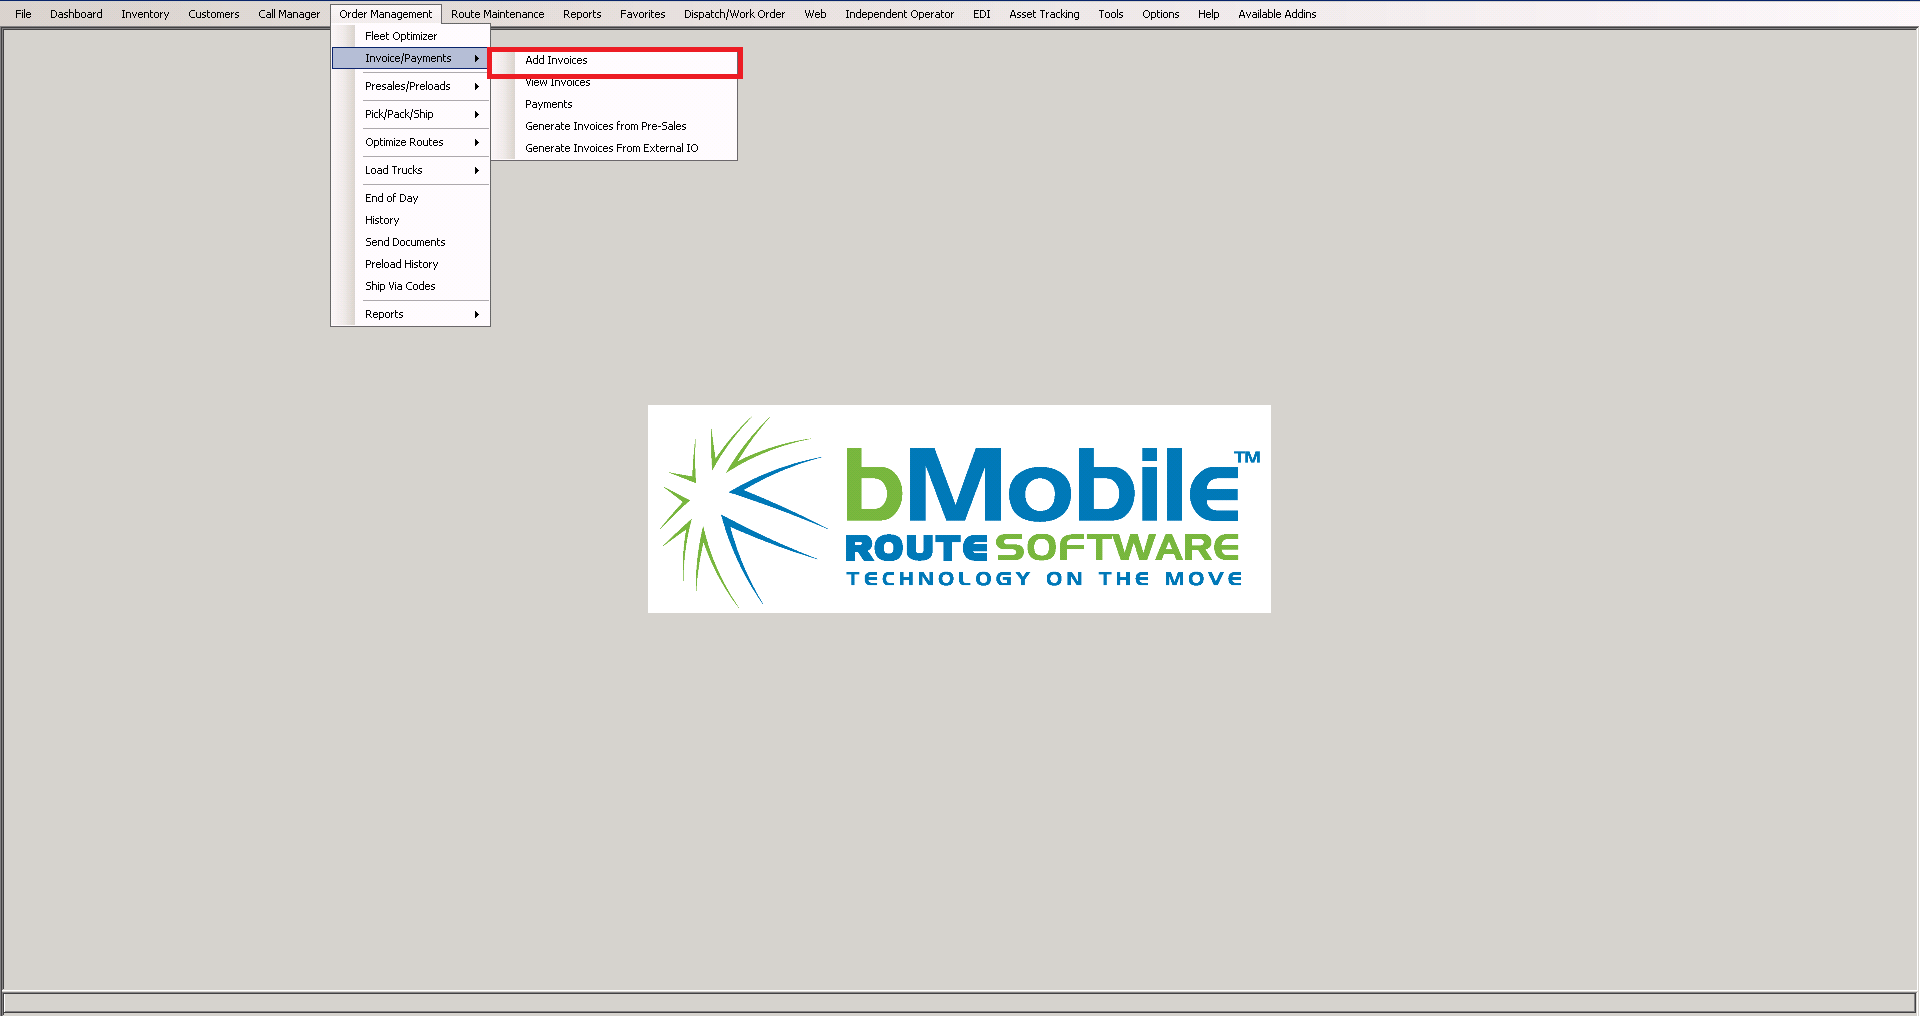
2. Select Invoice / Payments
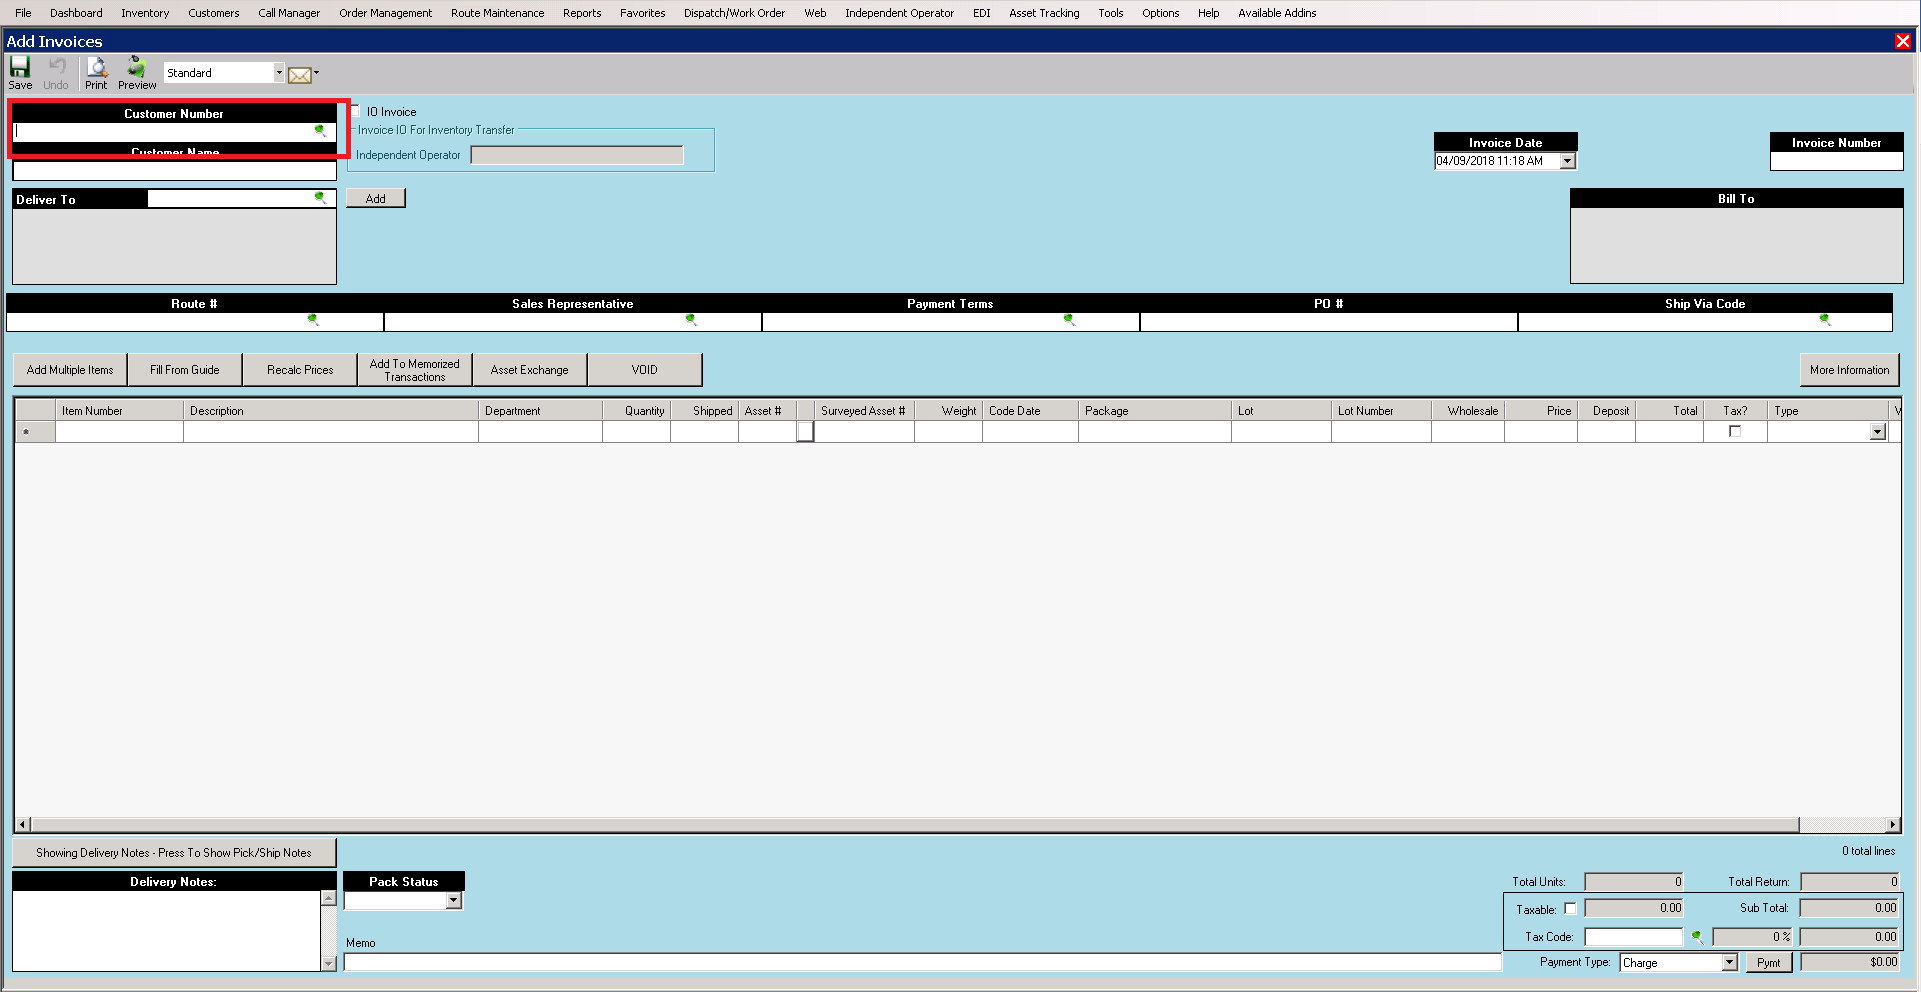
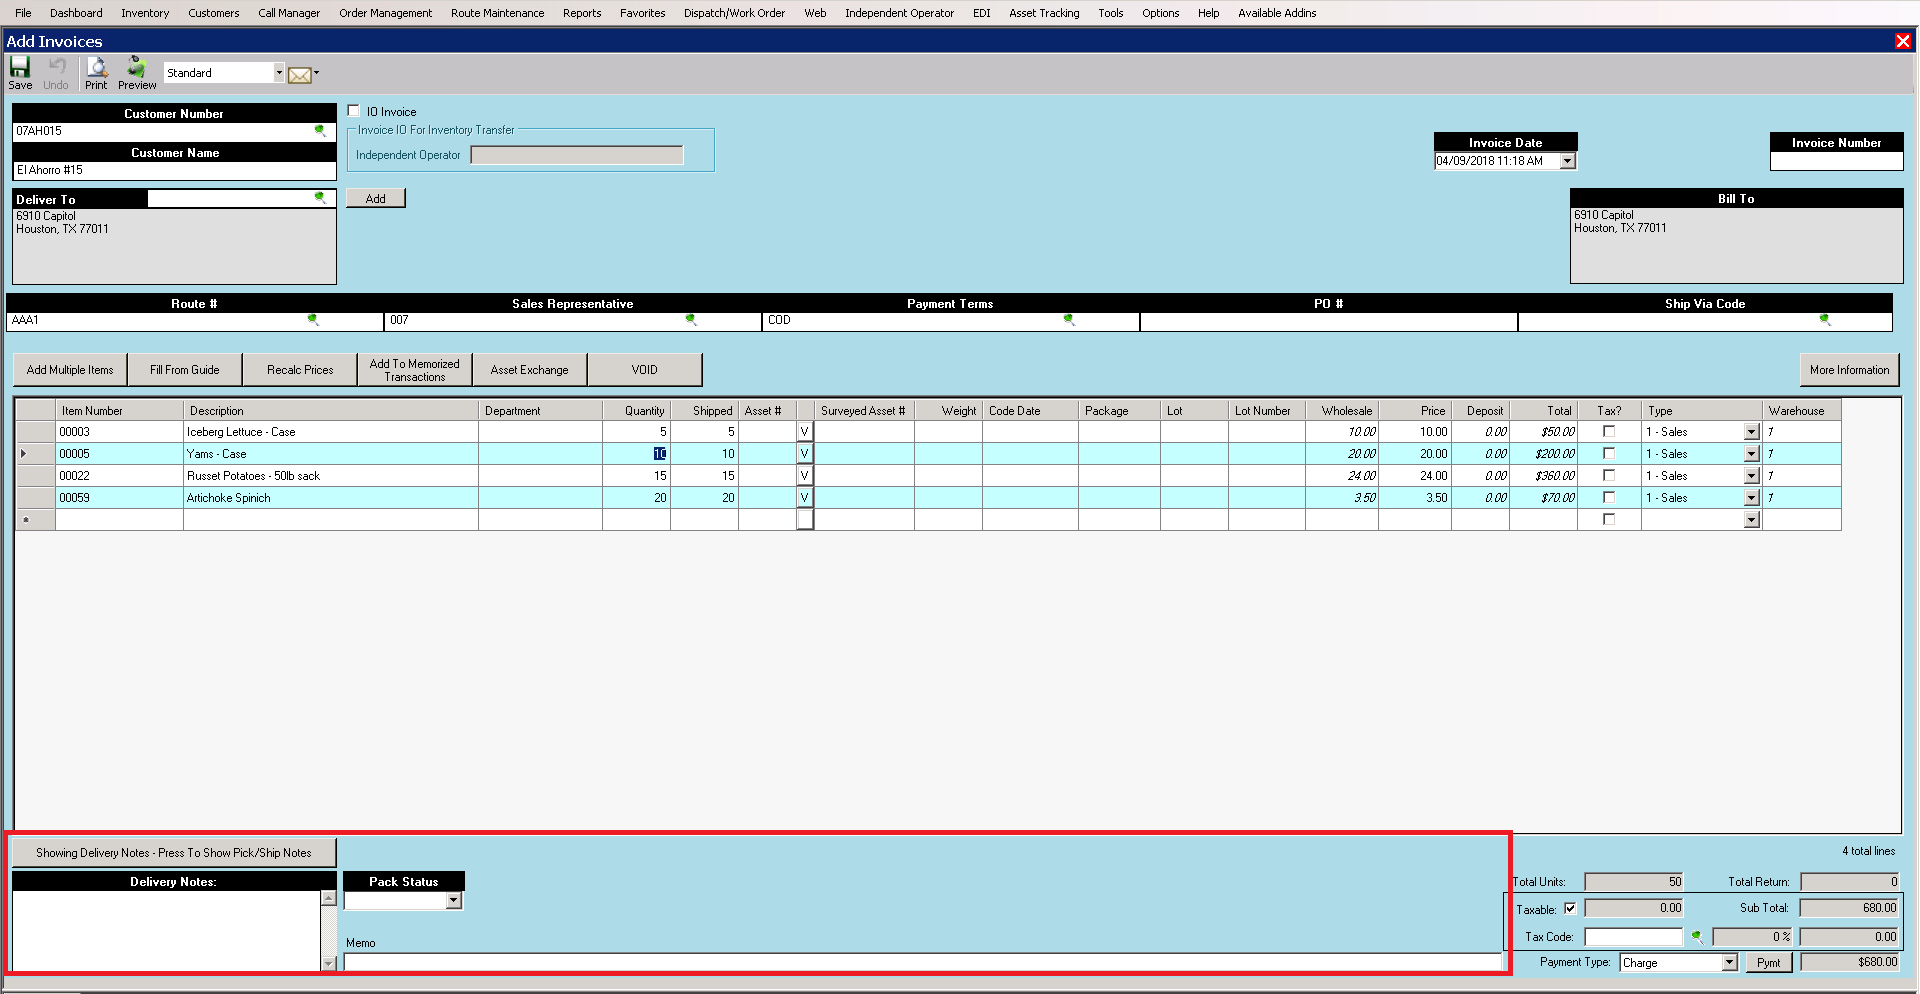
4. Enter a customer number
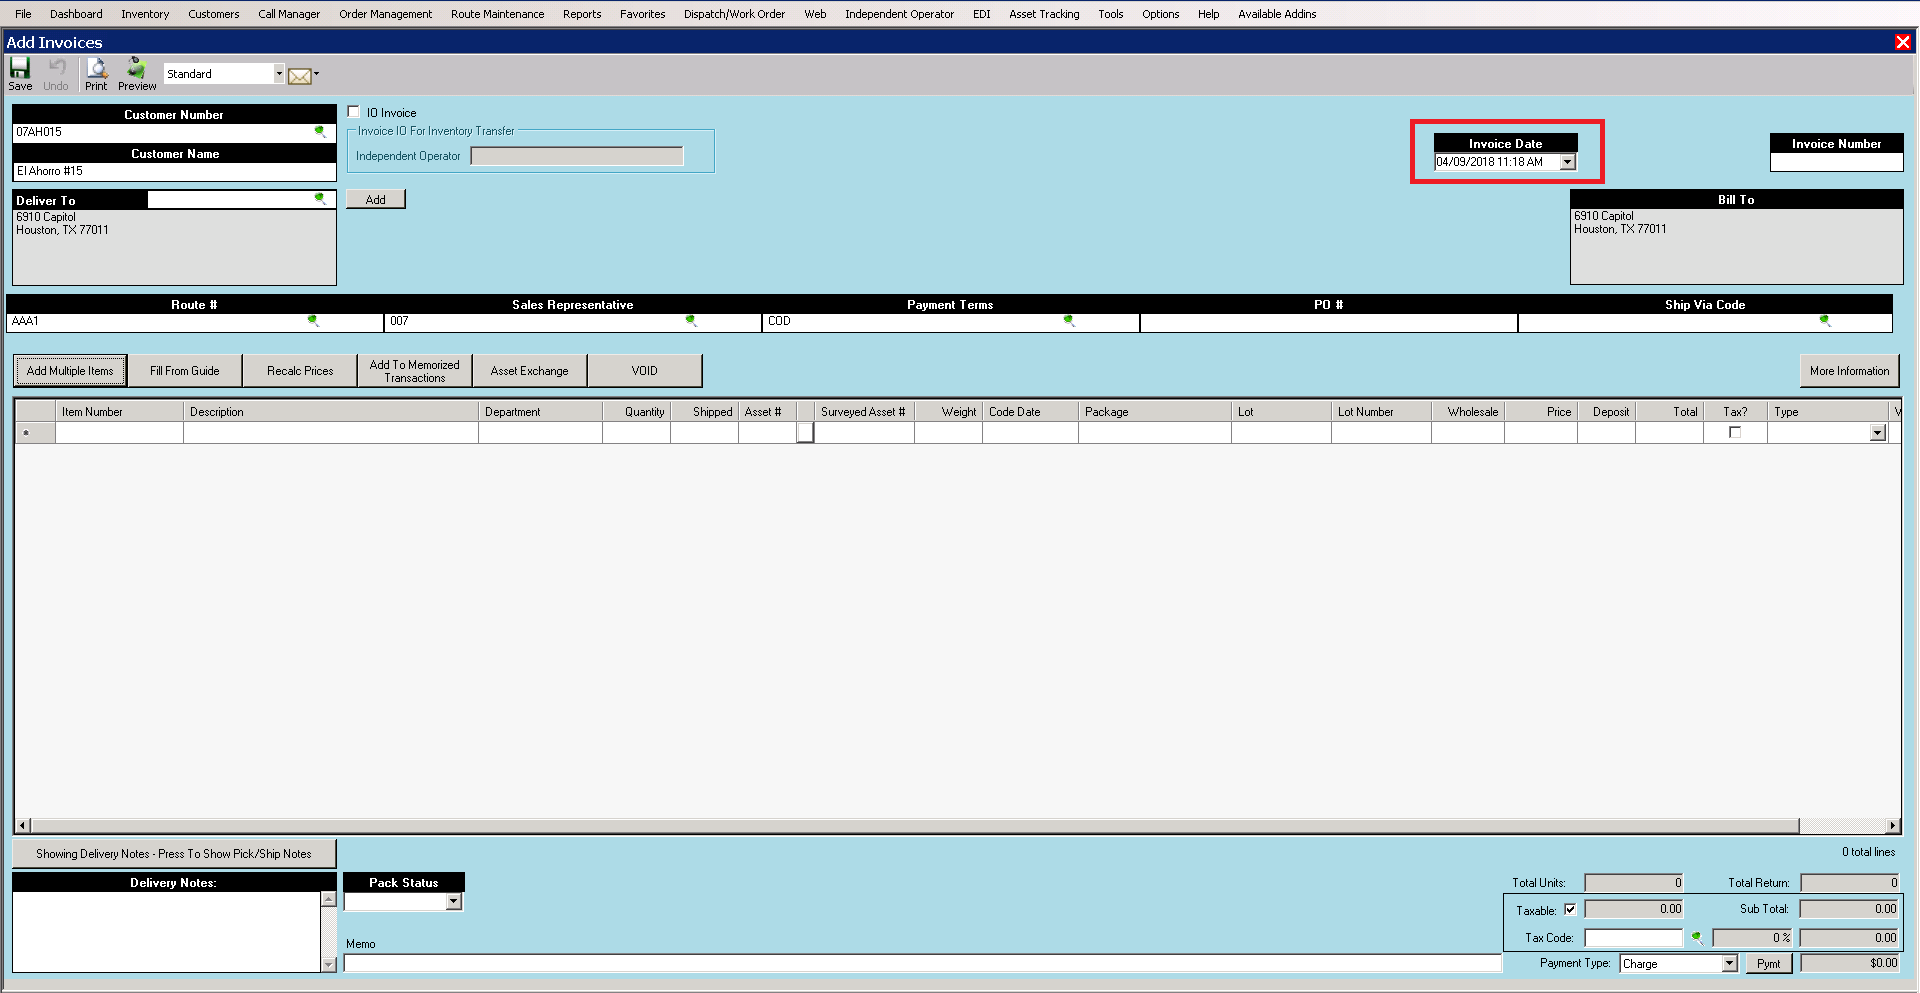
5. Confirm the invoice date
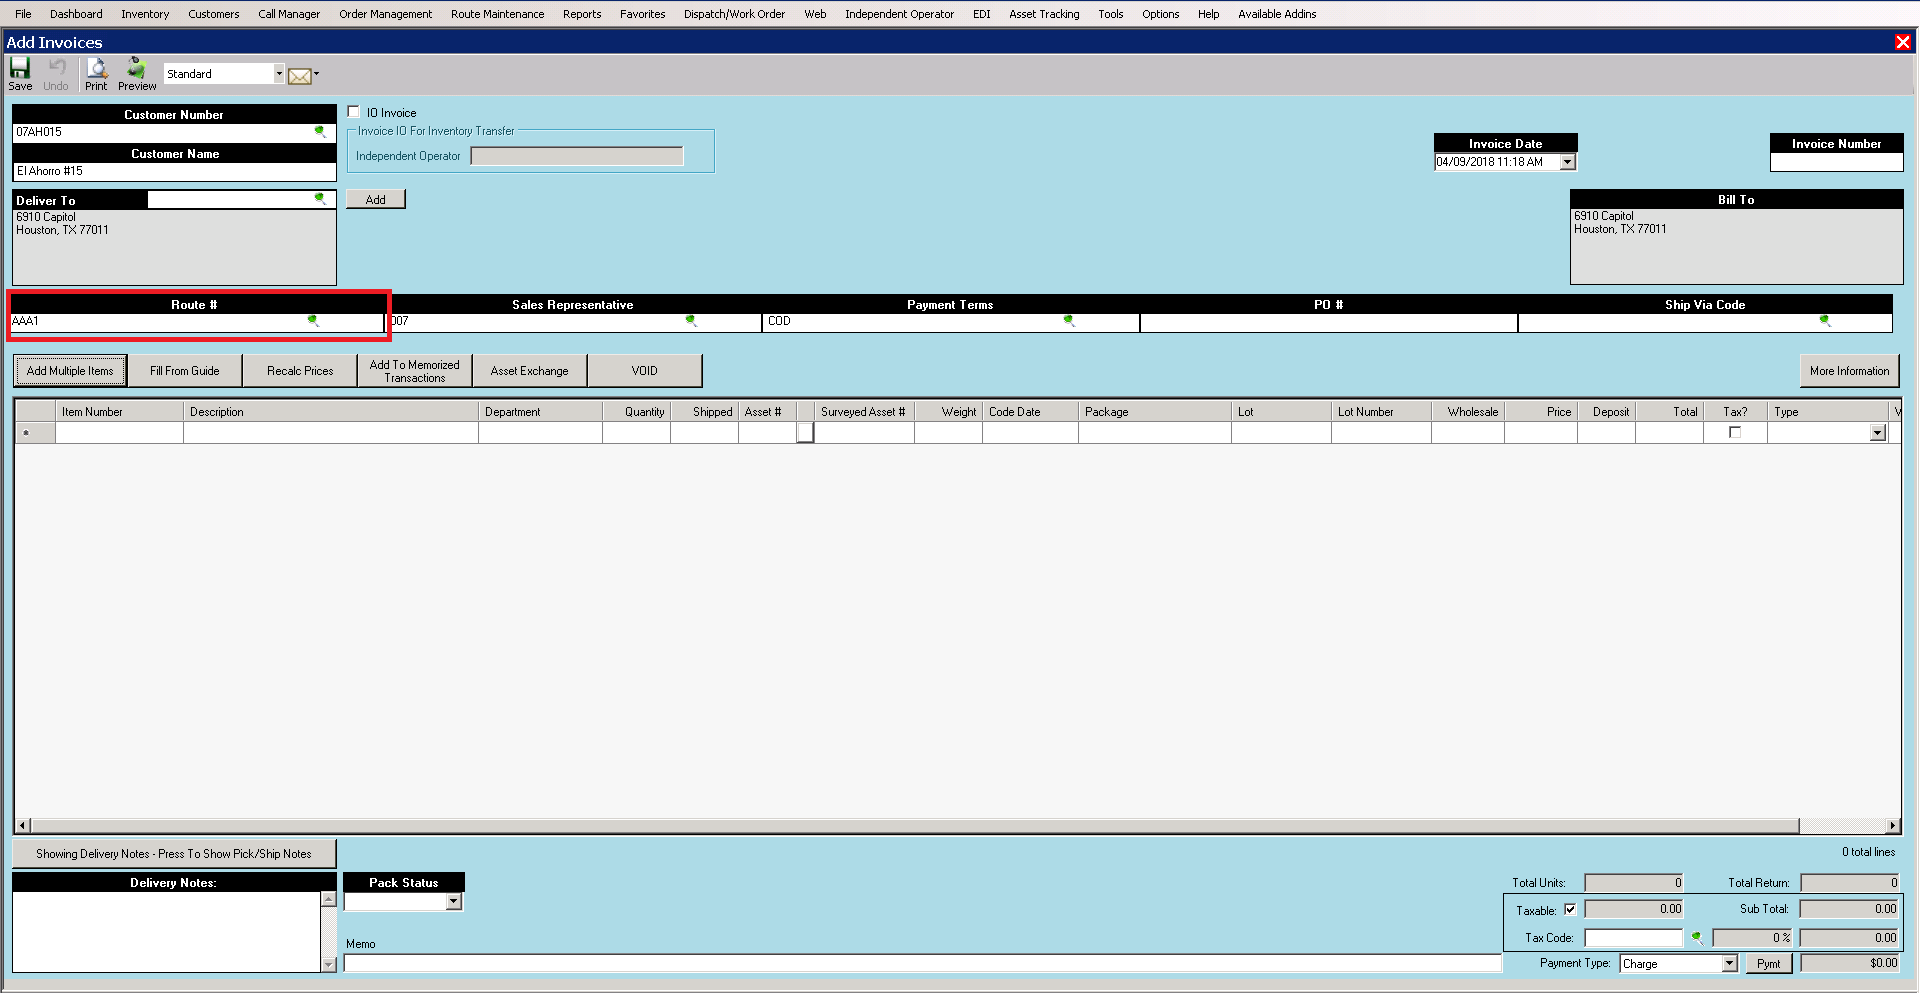
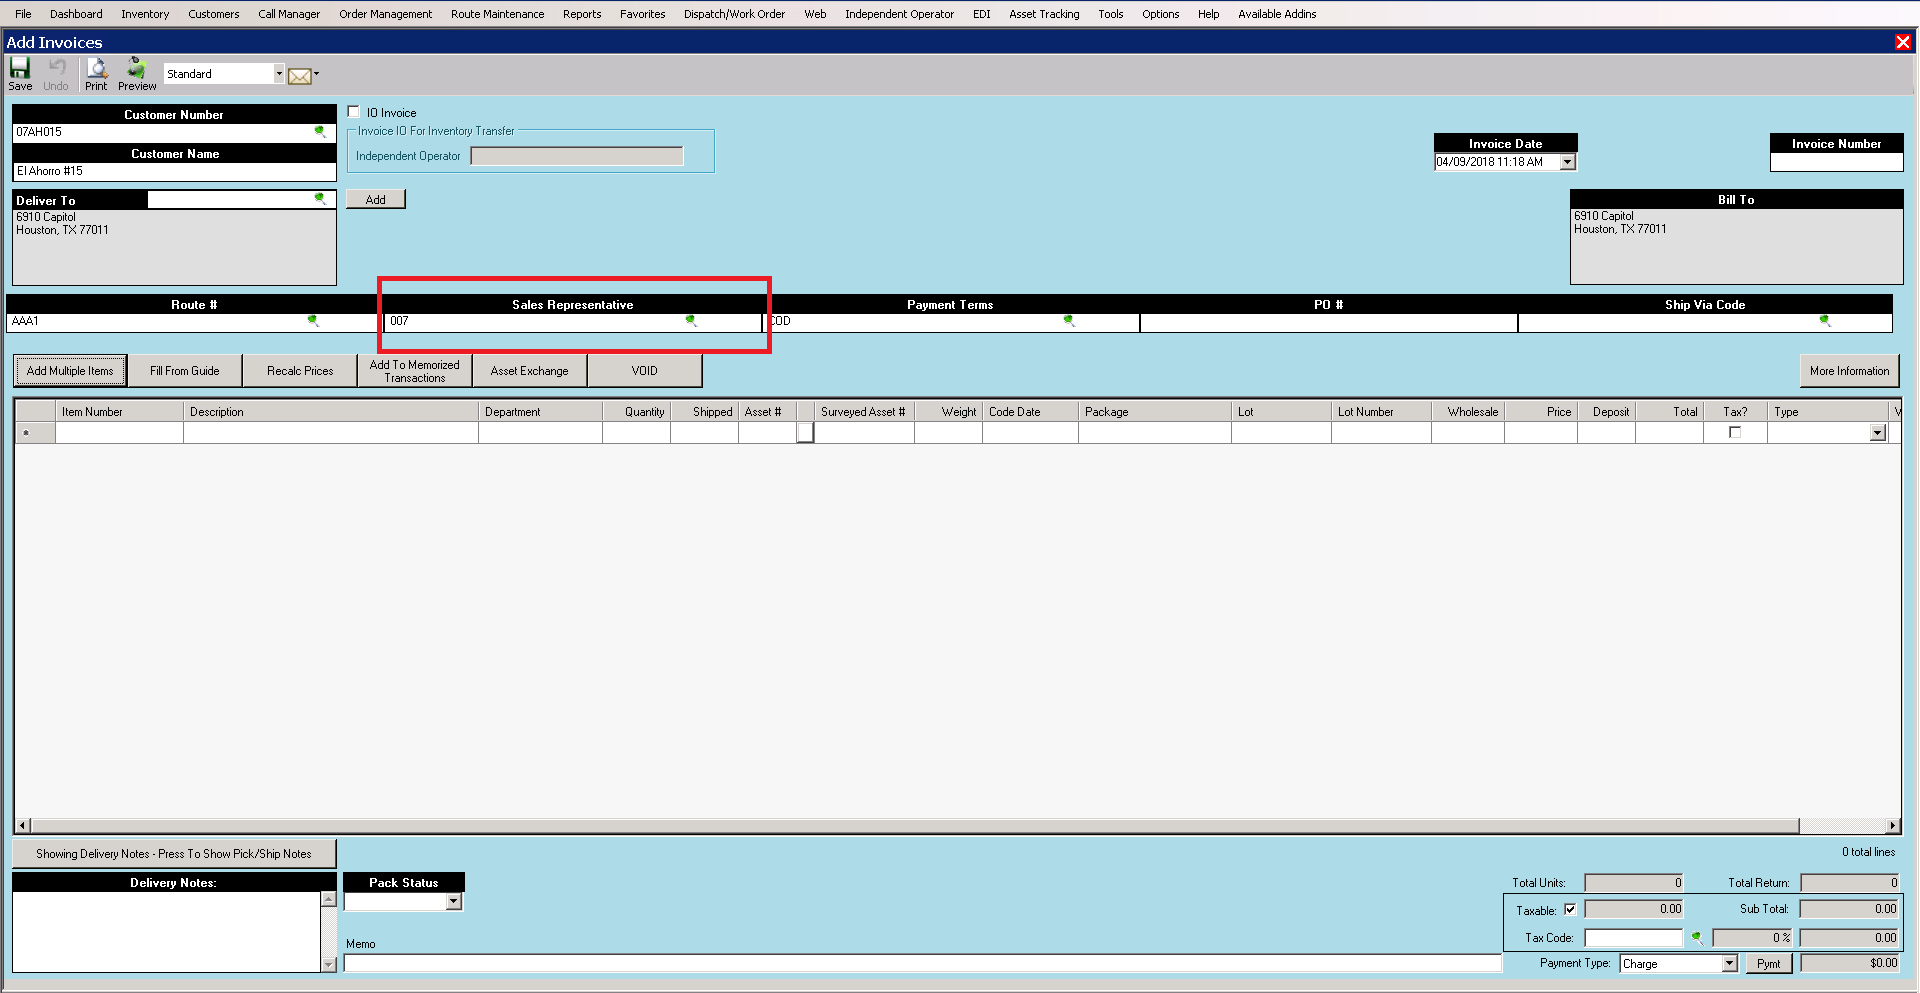
8. Confirm Terms for customer or set terms
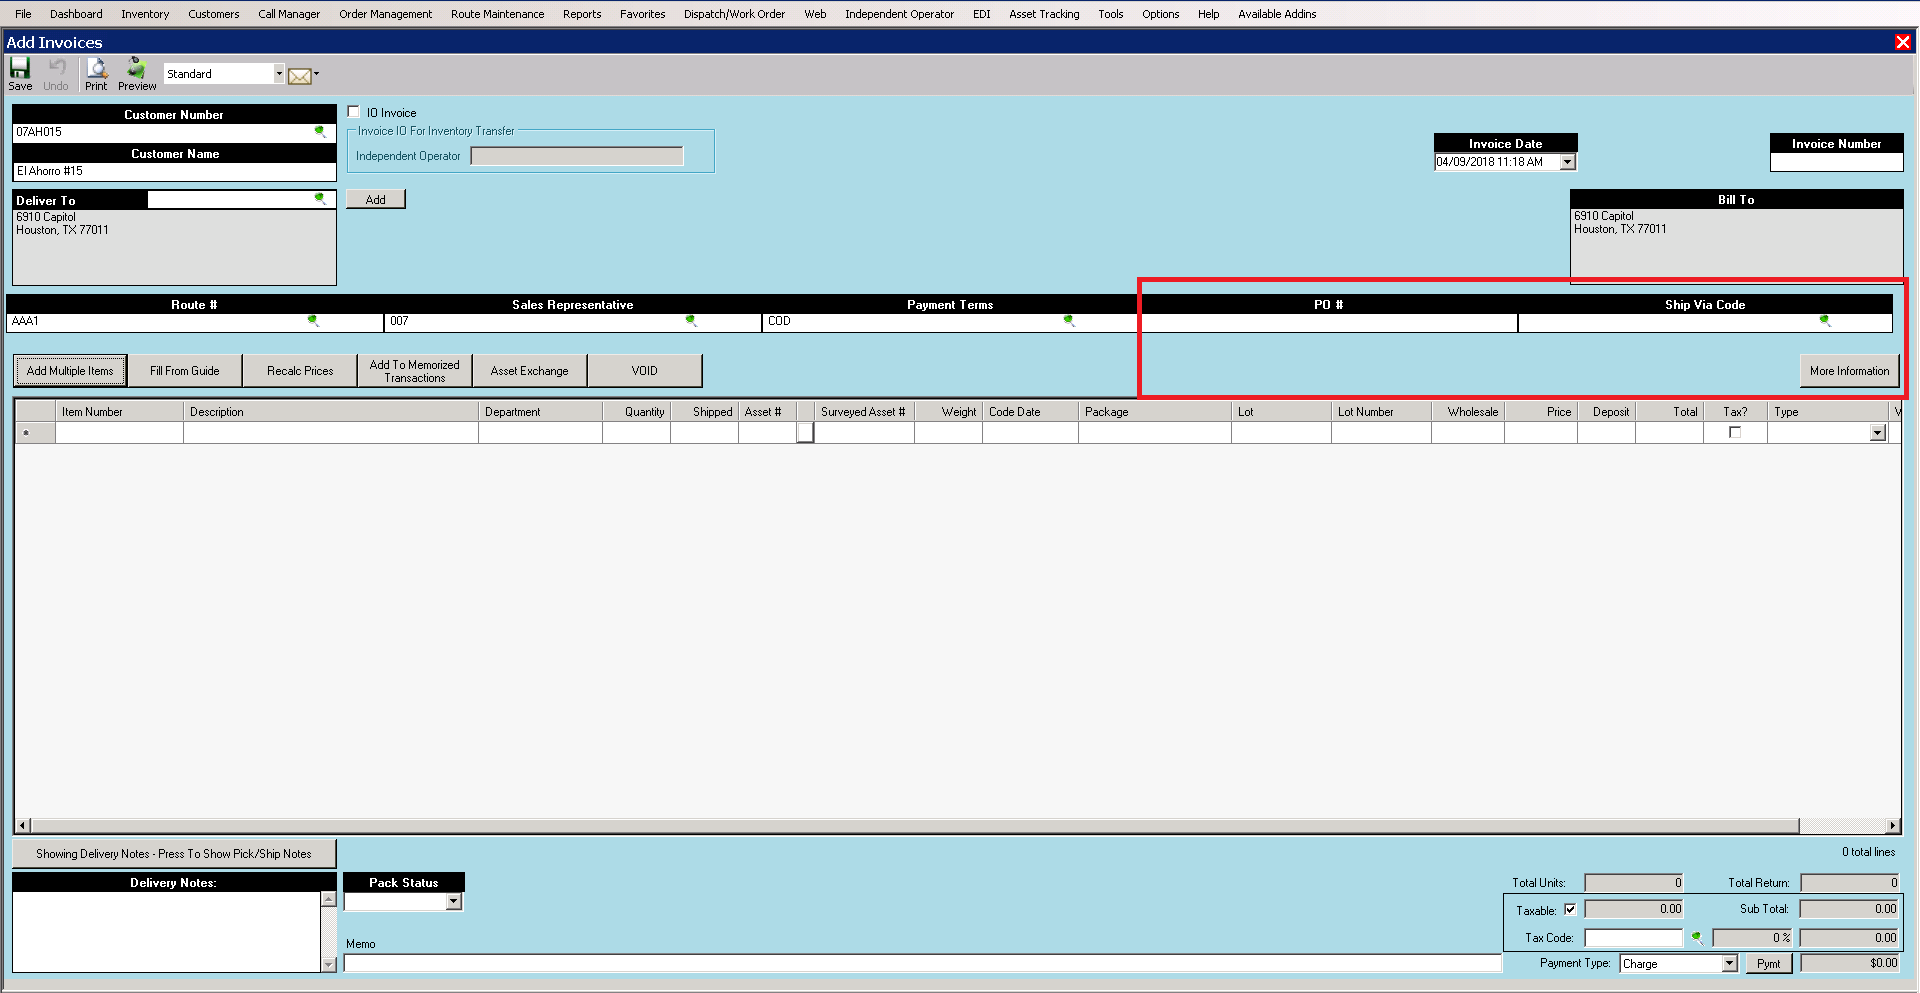
Optional Fields
a. PO #
b. Signature Name
c. Truck #
d. Delivered By
e. Helper
f. Pallet Count
g. Carton Count
9. Enter the items
One by One Entry
1. Select the first blank field
2. Enter or look up the item number
3. Enter the QTY
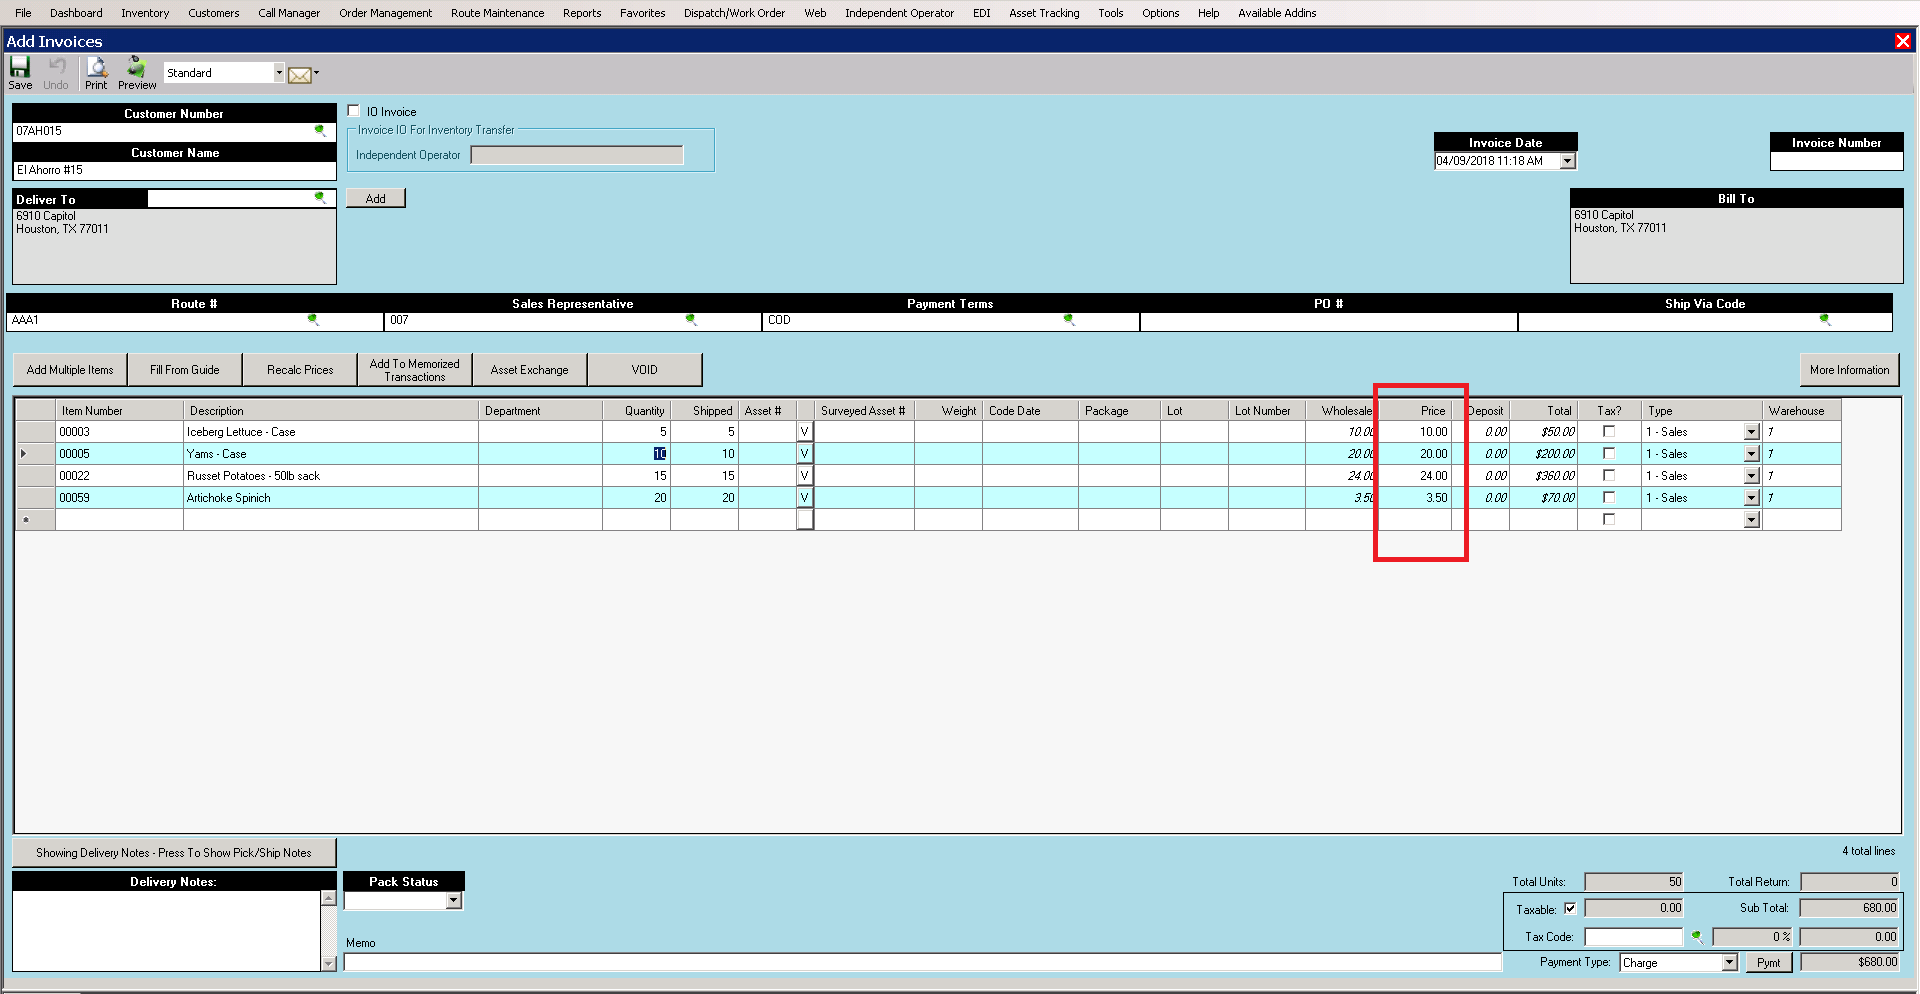
4. Verify or enter the price
5. Verify the line Type (IF using split invoice all line types must be sales or return types)
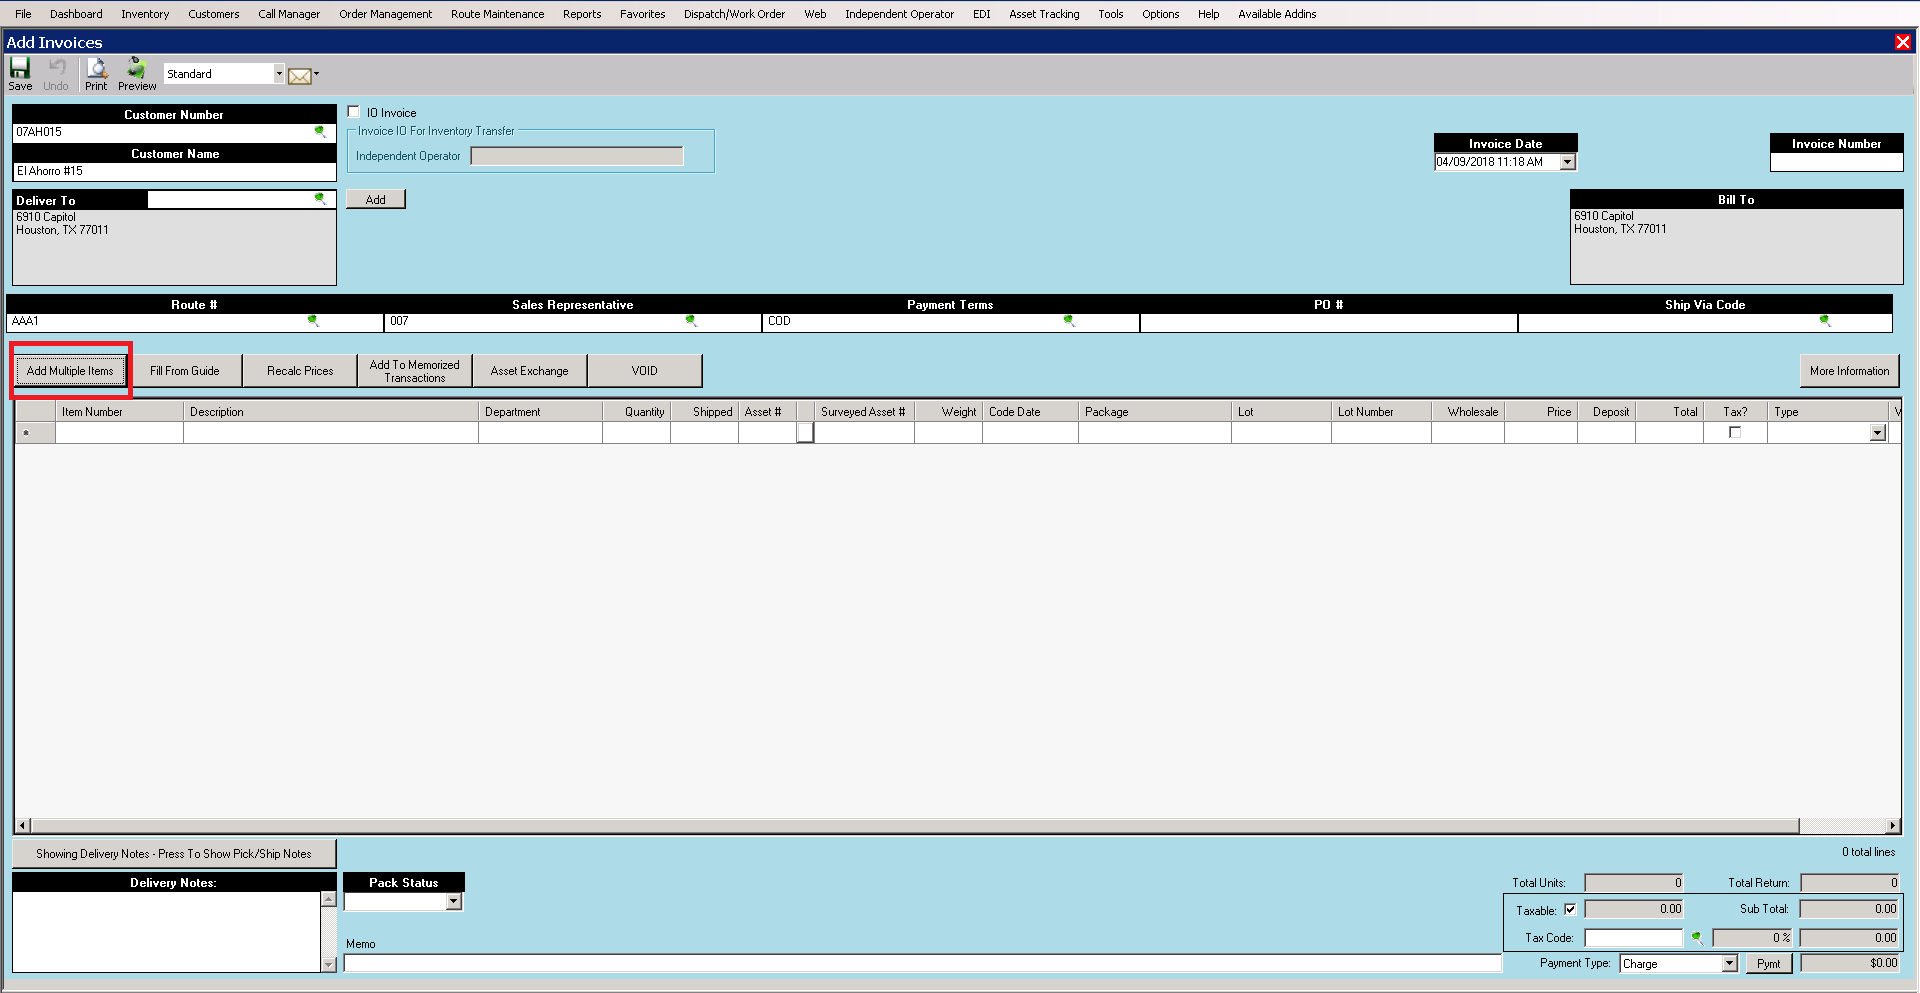
Add Multiple Items
1. Select Add Multiple Items button
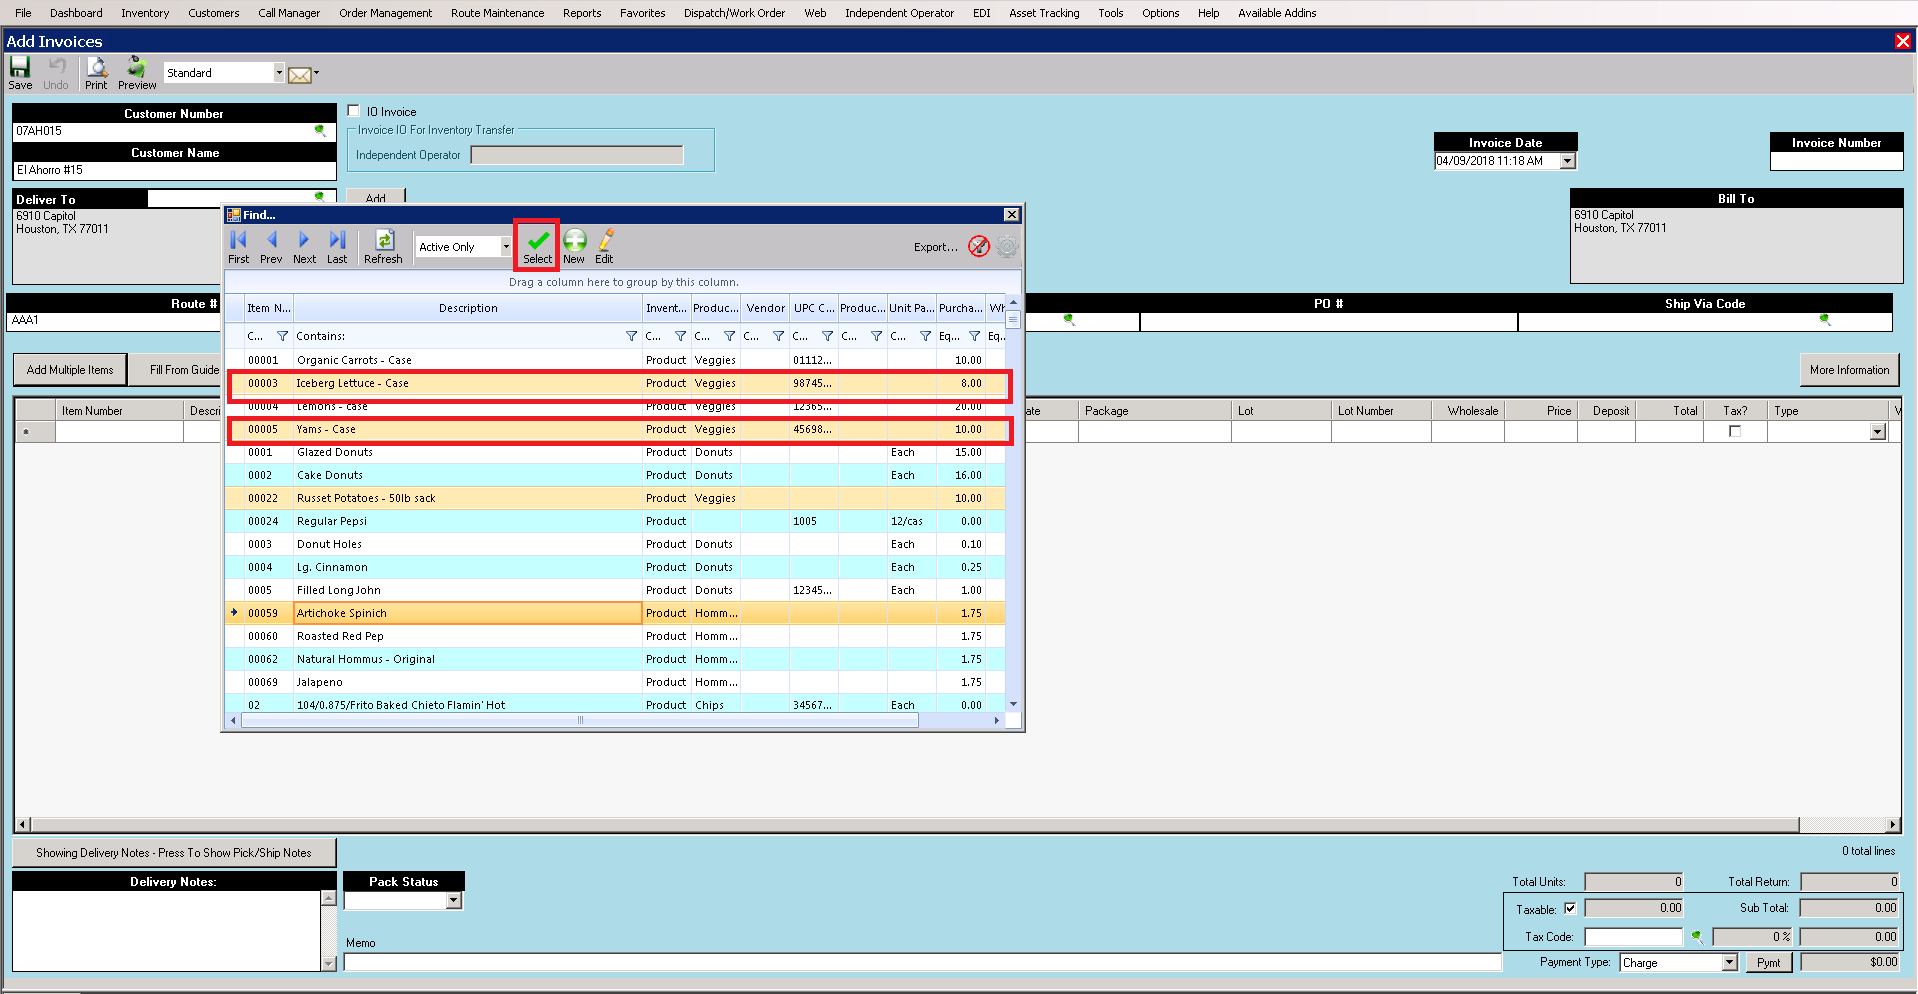
2. Choose the items to add by CTRL click each item or SHIFT click each item and press select when done
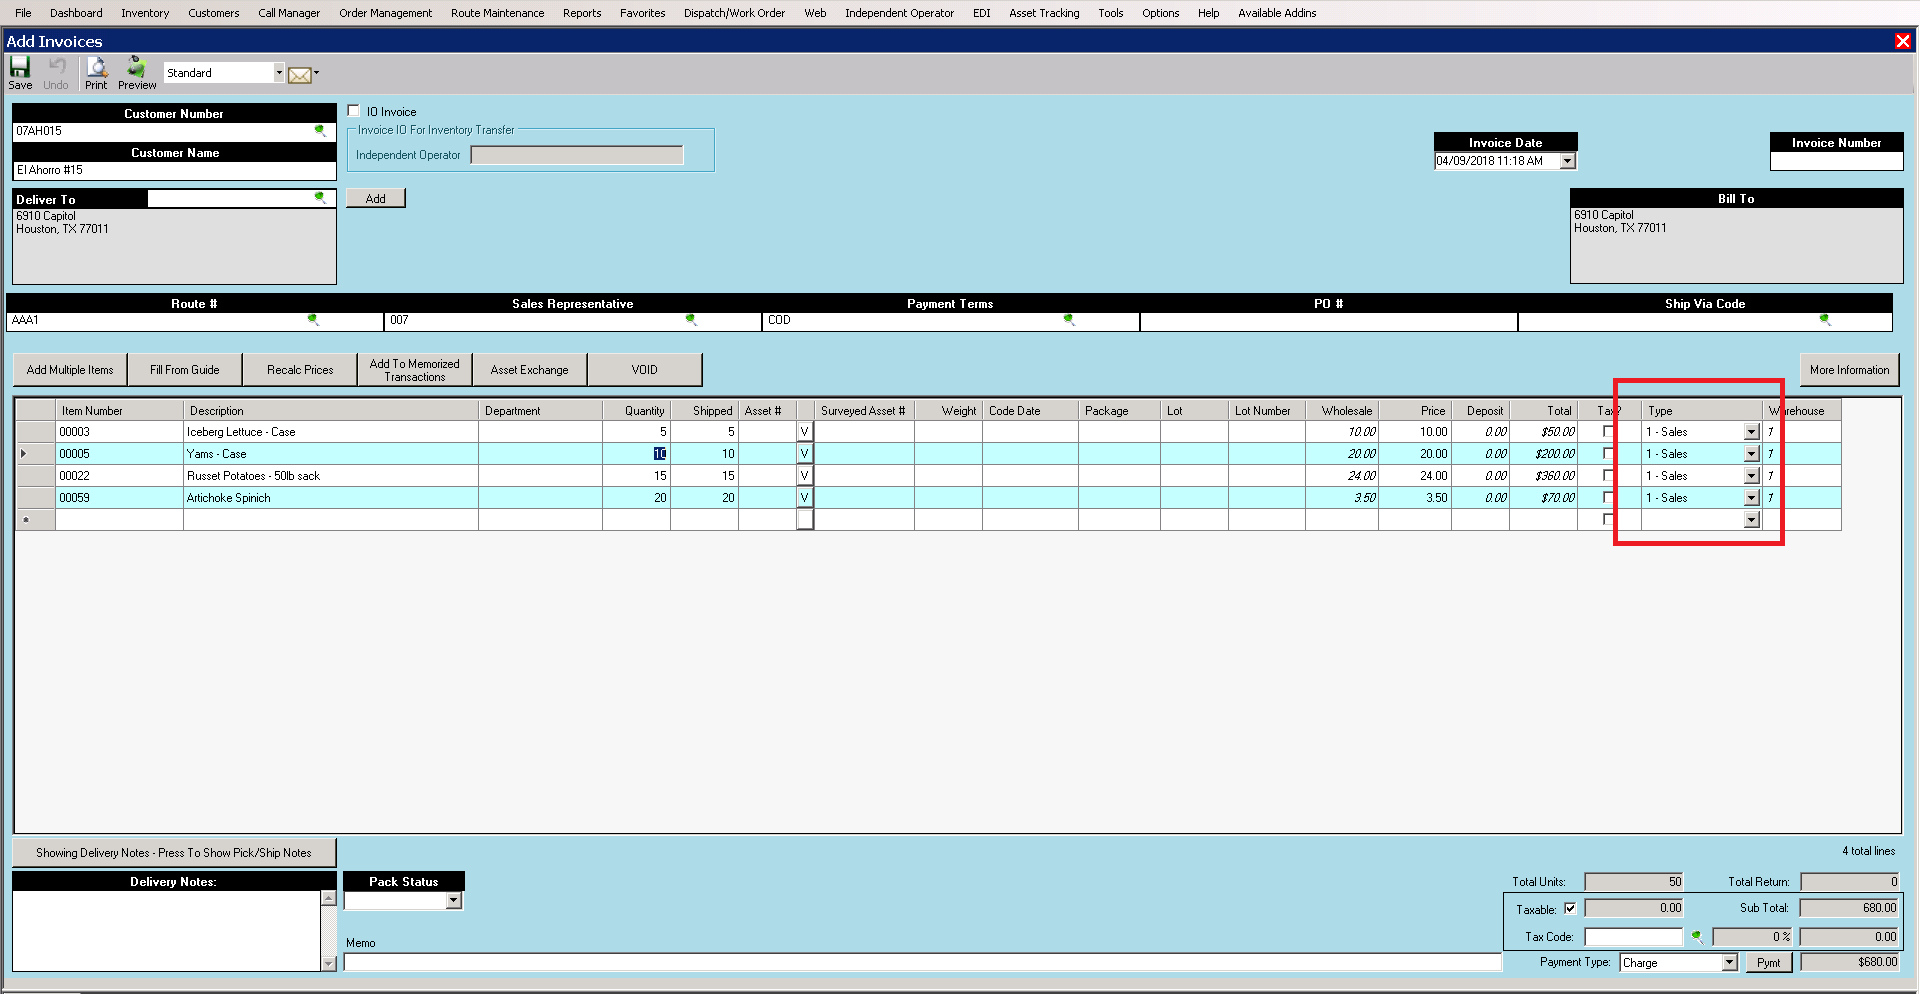
4. Verify or enter the price
5. Verify the line Type (IF using split invoice all line types must be sales or return types)
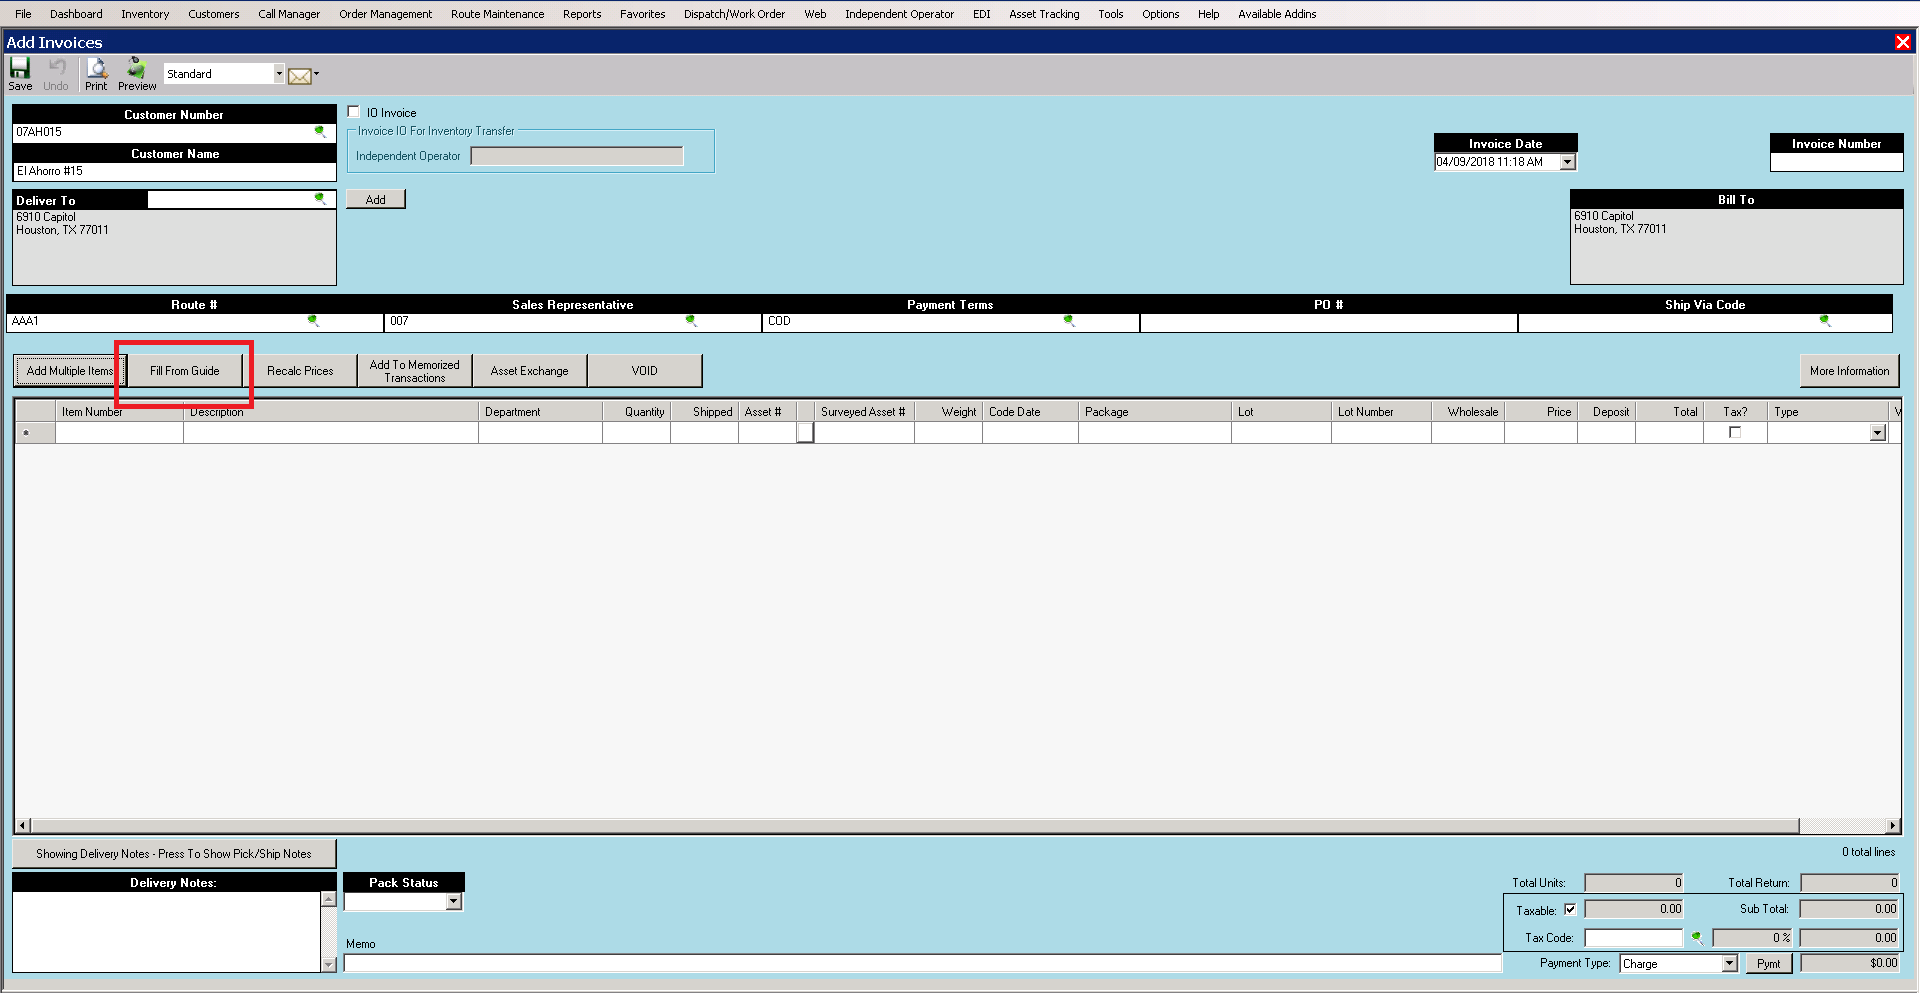
Fill from Guide (Customer Product Guide must be set to Include on Invoice)
1. Press fill from Guide
3. Verify or enter the price
4. Verify the line Type (If using split invoice all line types must be sales or return types)
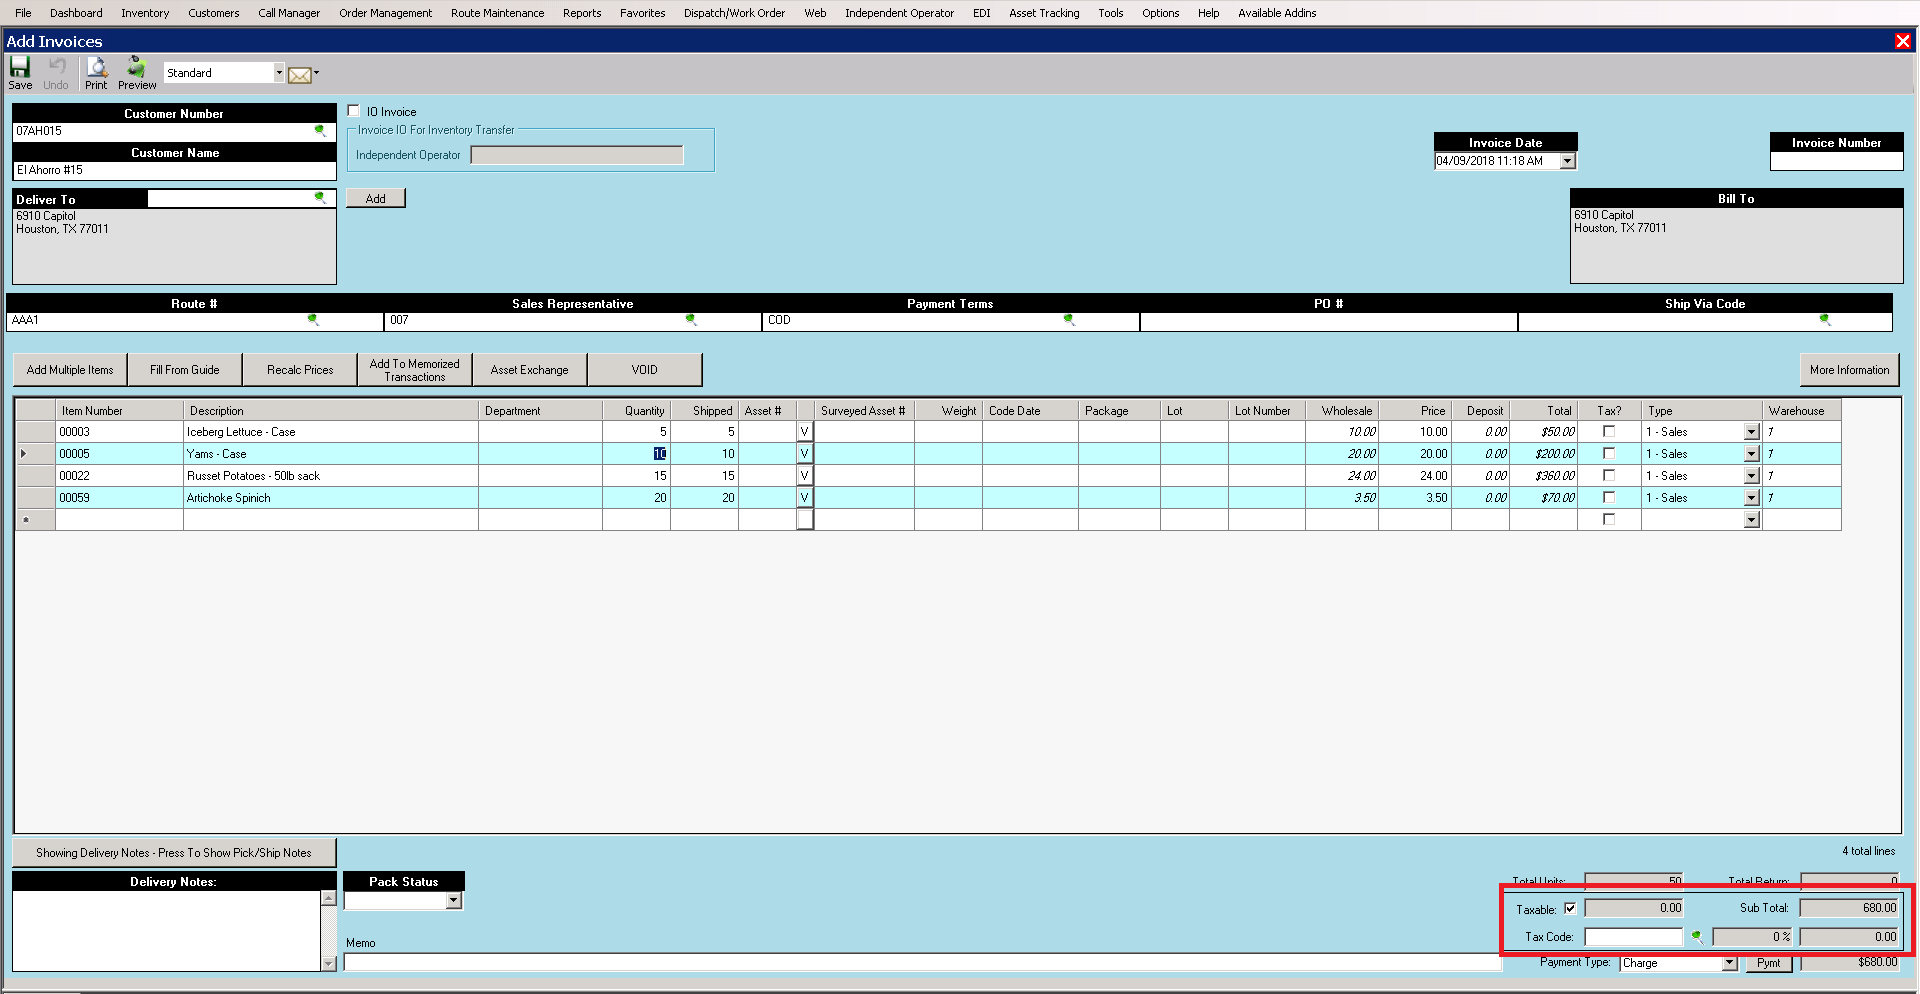
5. Verify tax info if customer is taxable
Verify Payment Info
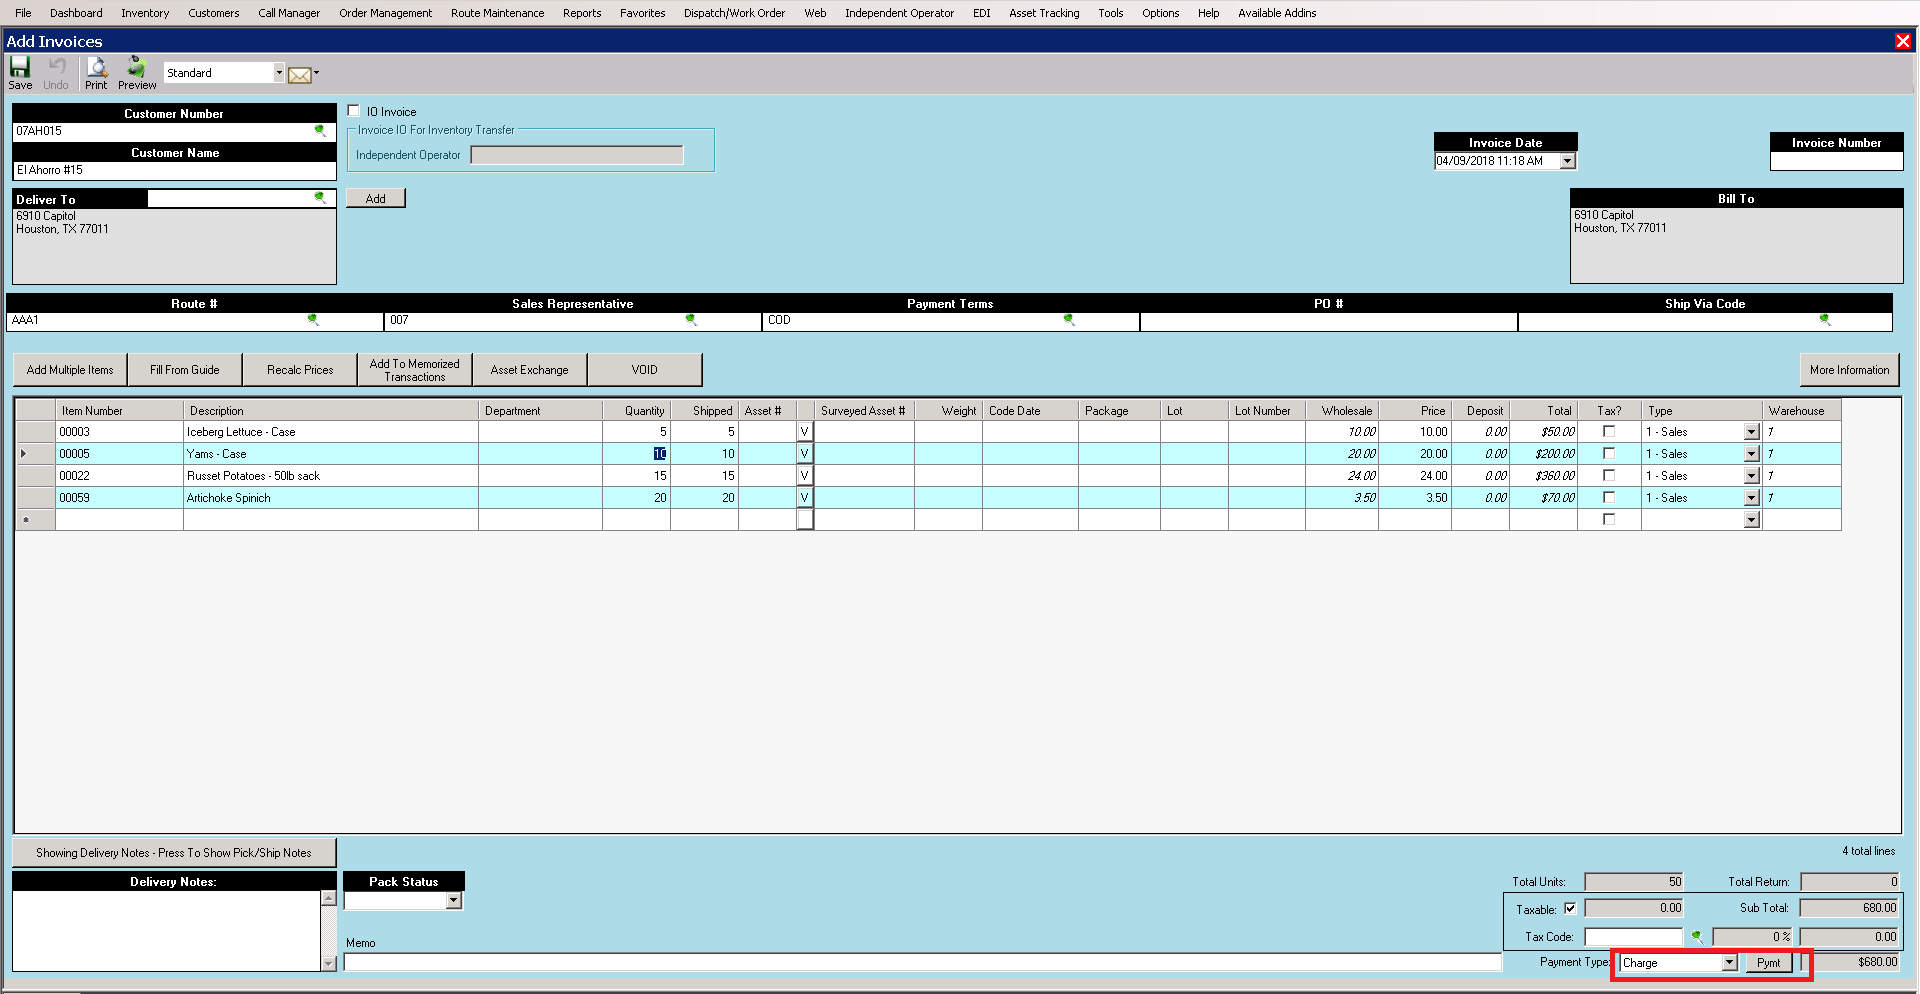
1. Choose Payment type or select Pymt Button
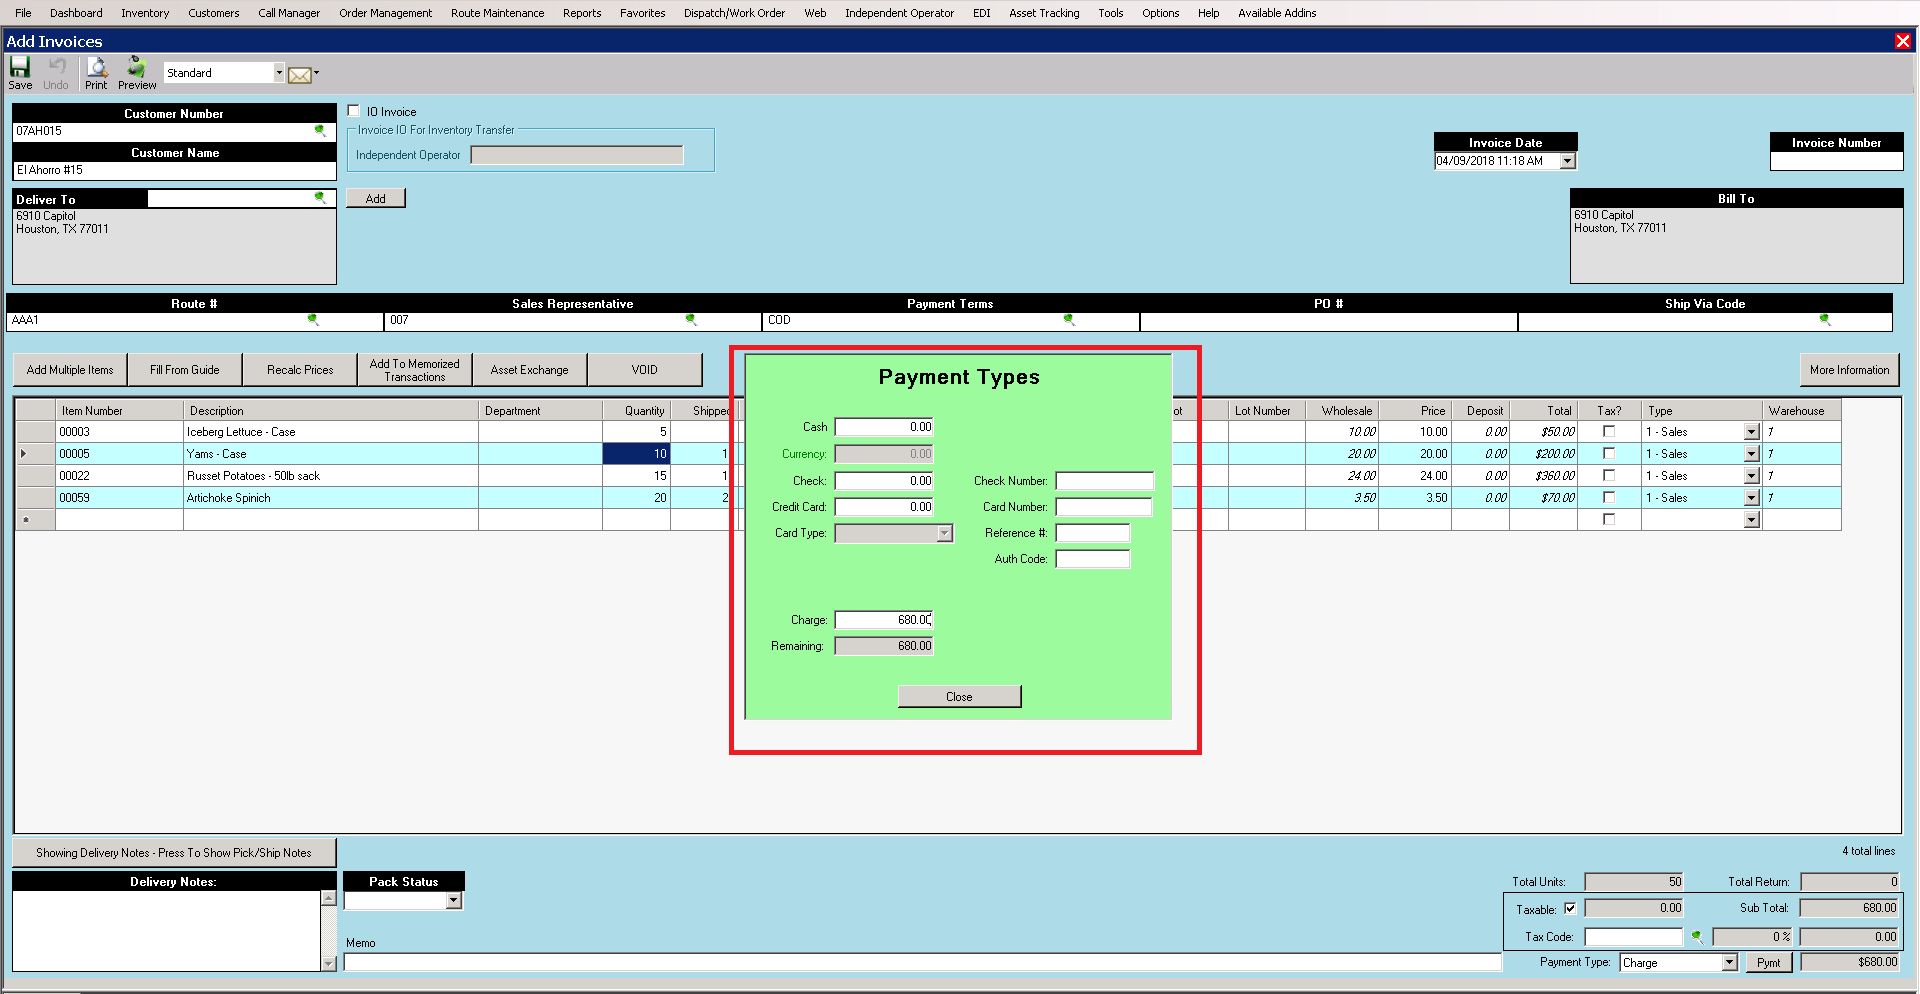
2. Enter payment info
3. Enter Delivery Notes or Memo info
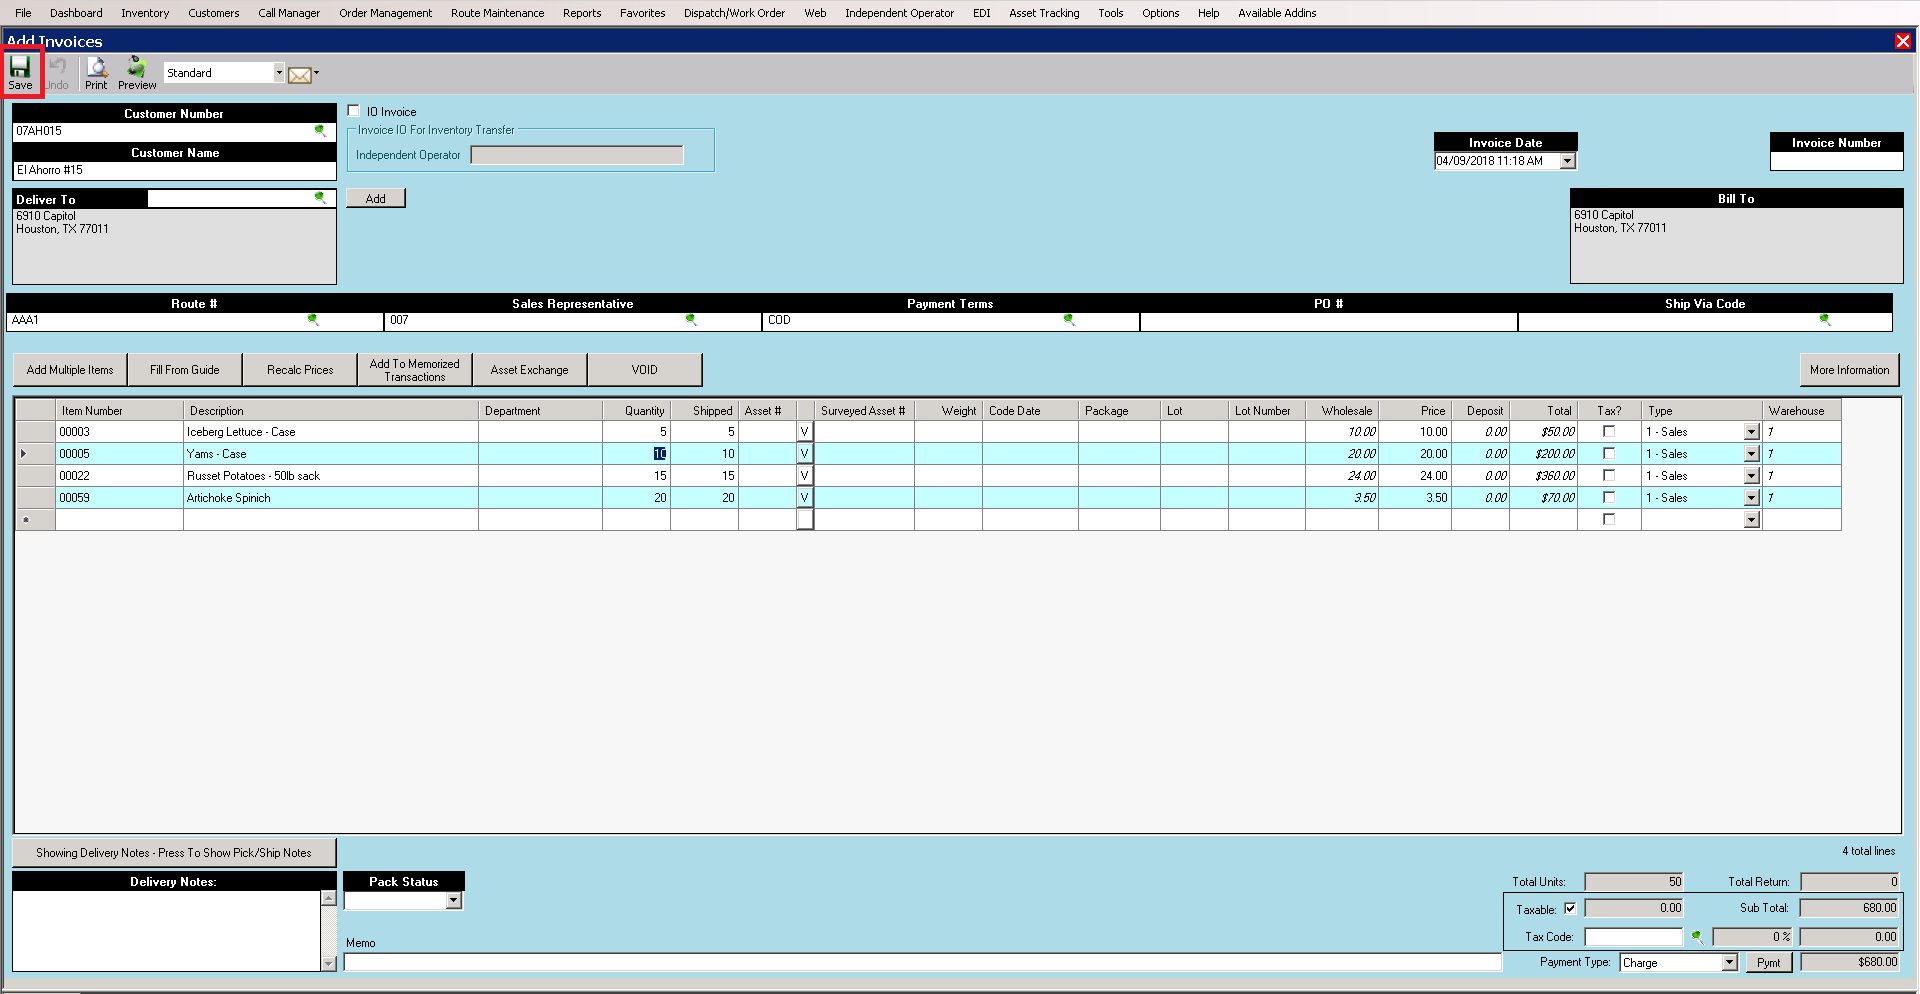
4. Print the invoice if needed