1. Select Route List from the home screen
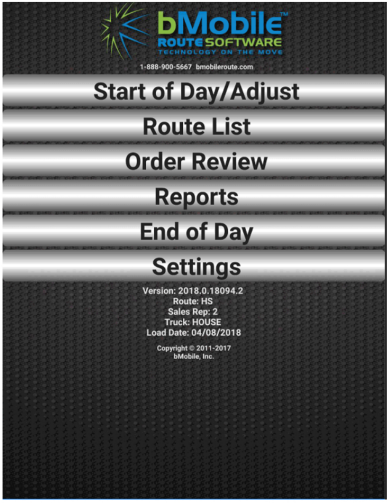
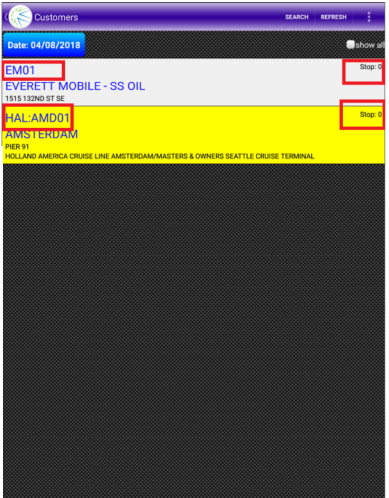
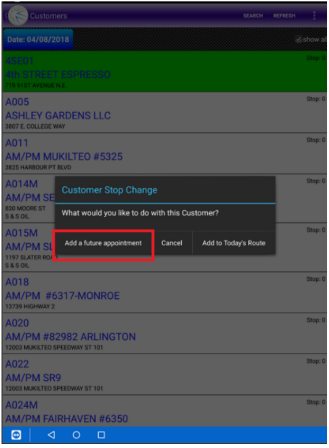
2. Route Customer List
a. Sequencing - Customer Number first unless using stop numbering or route optimization
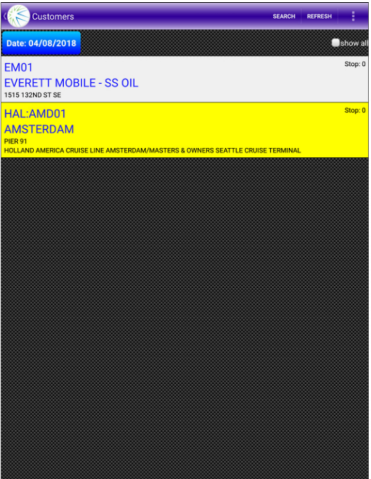
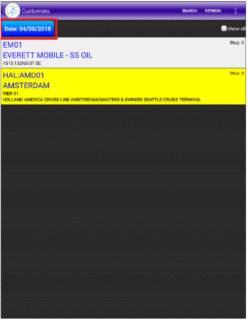
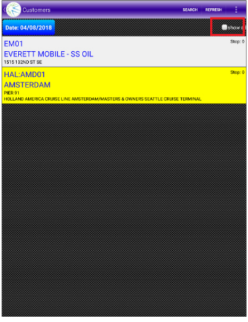
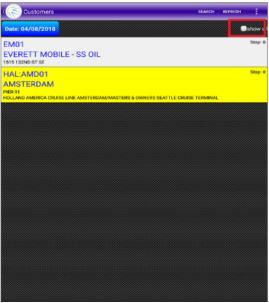
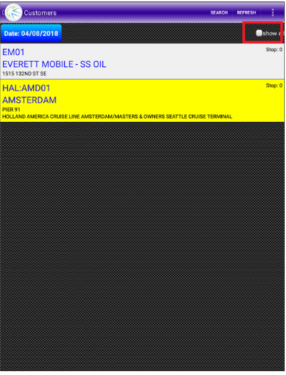
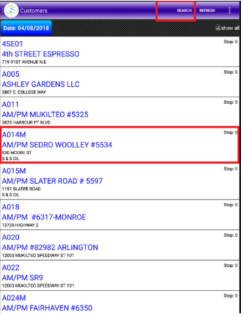
b. Customer List Color Coding
1. White - Customer is assigned to route
2. Yellow - Customer has a delivery (Presale)
3. Salmon Pink - Customer has a completed transaction (Invoice, presale, payment, or non stop)
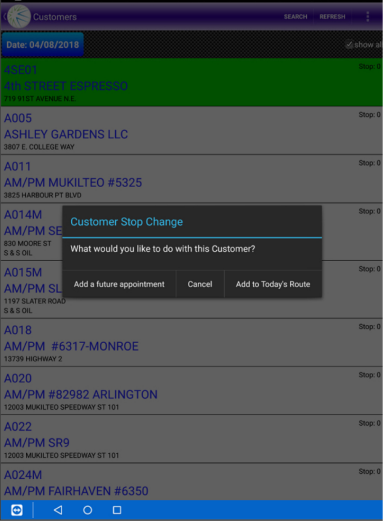
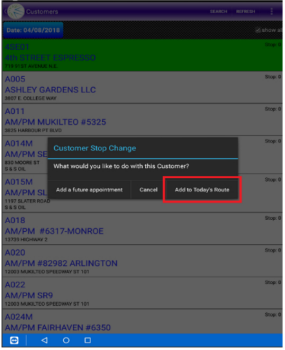
4. Green - Current selected customer when adding to route
c. List ability
1. Date Selection on route list - allows pulling future date customer list
2. Add Customer to current route
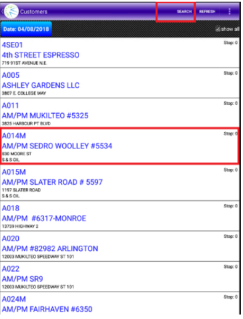
2. Search desired customer from list
3. Press customer line 3 seconds
4. Choose add to today's route
6. Customer is now part of the current day route list
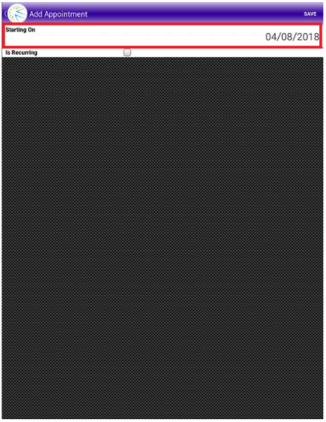
3. Add Customer to reoccuring sequence for running route
2. Search Desired customer from list
3. Choose add a future appiontment
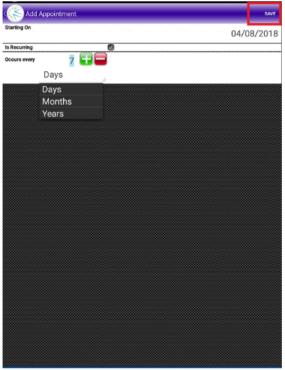
4. Set start date if occuring one time set for date of occurence
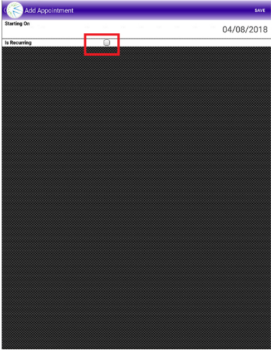
For Reoccuring
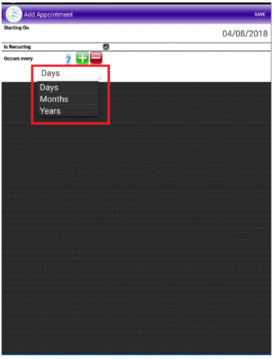
Set Frequency of occurence
.Days - occurs every Monday e.g 7 days
.Months - occurs every Month
.Years - occurs every Year
2. Press Save - stop will now cycle back to device on desired date
3. Repeat for additioal stop sequencing
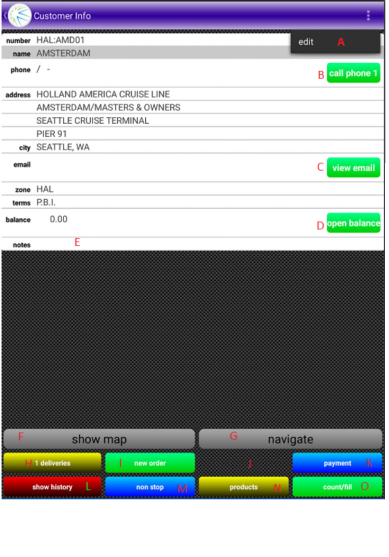
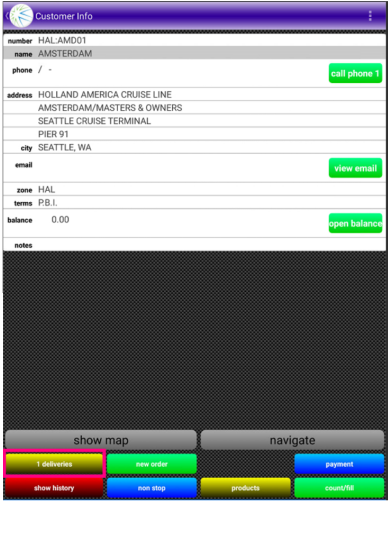
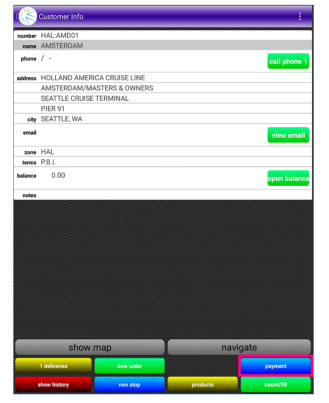
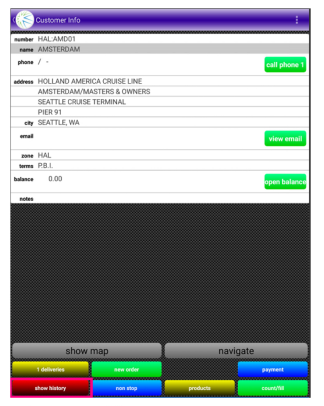
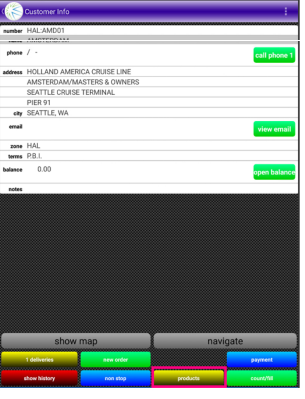
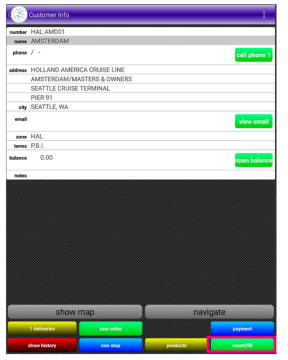
How to access customer record
1. Tap on desired customer record from route list
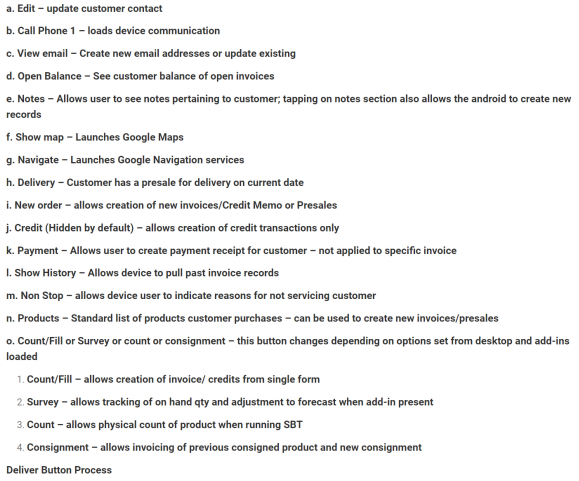
2. Customer info panel will open with the following options
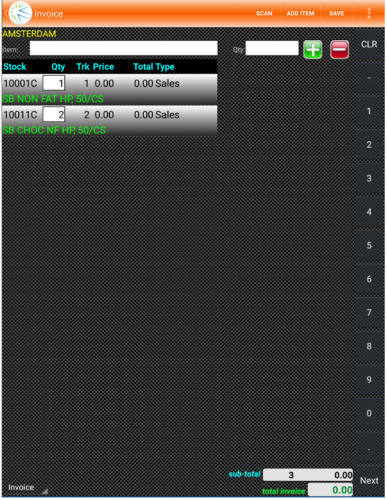
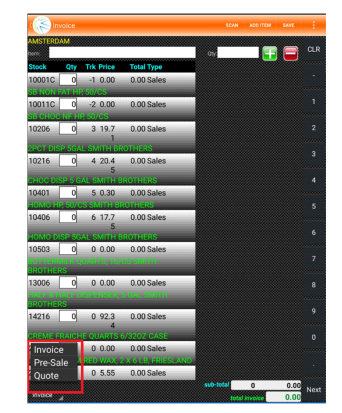
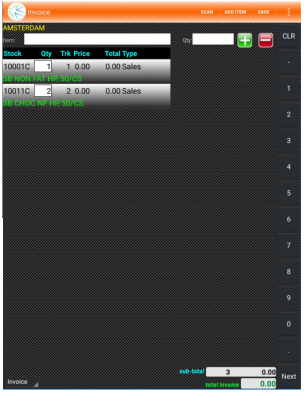
1. Select the deliver button - if multiple orders are available you will be prompted to choose
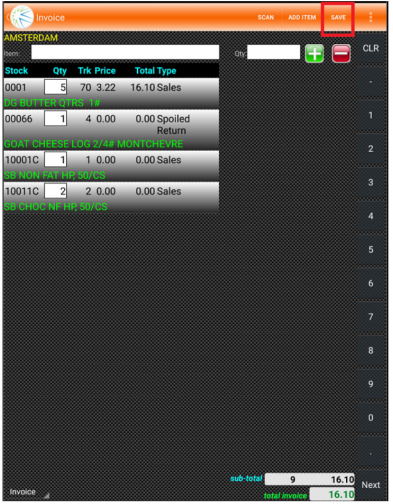
2. Order window will prefill with the items and qty
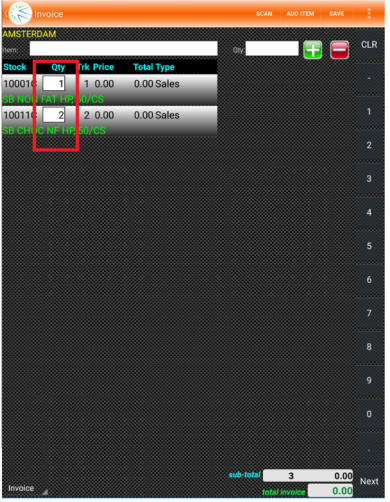
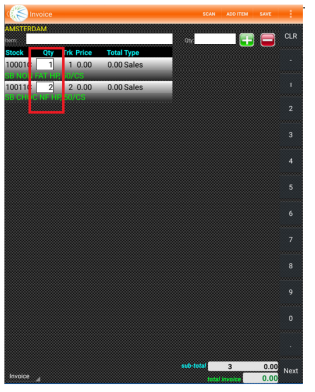
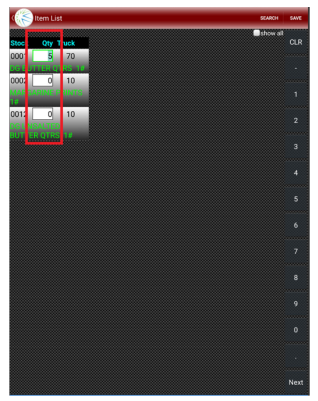
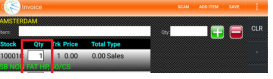
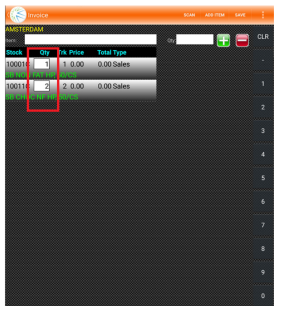
To Change Delivery QTY
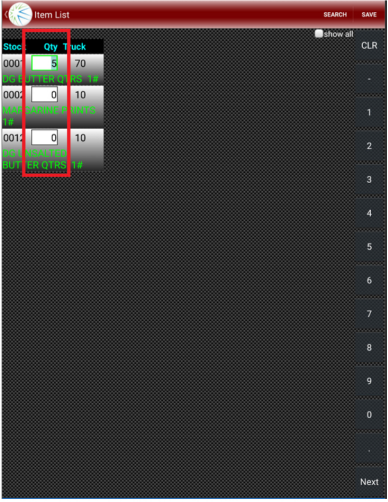
1. Select the QTY box
2. Change the number of QTY for delivery
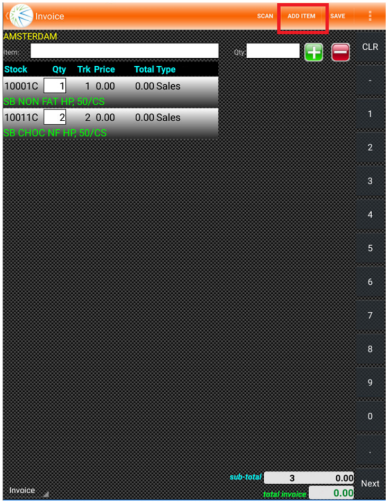
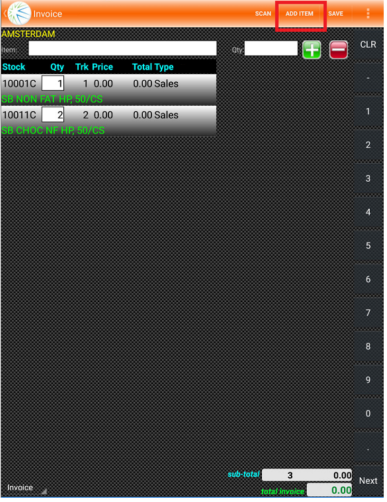
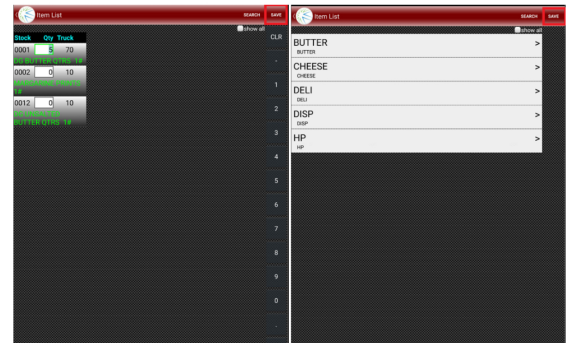
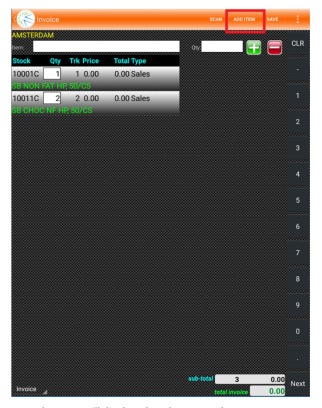
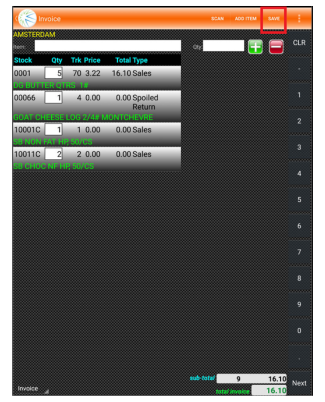
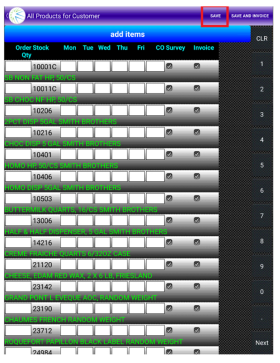
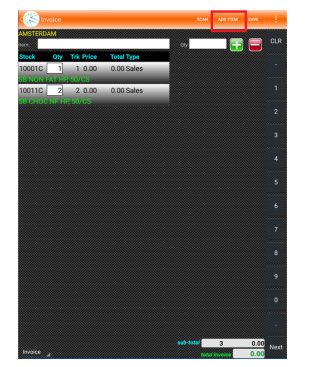
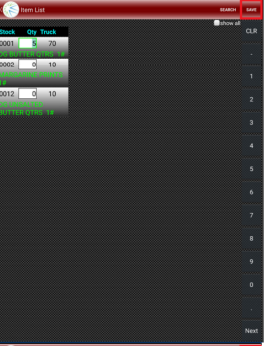
To Add to Delivery
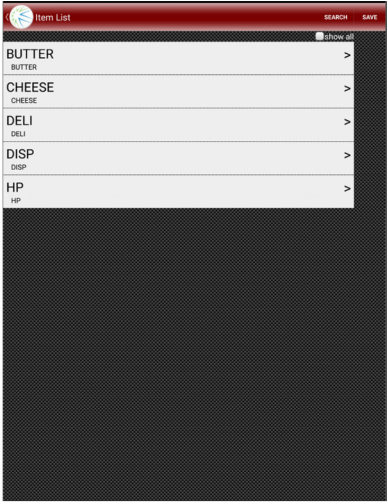
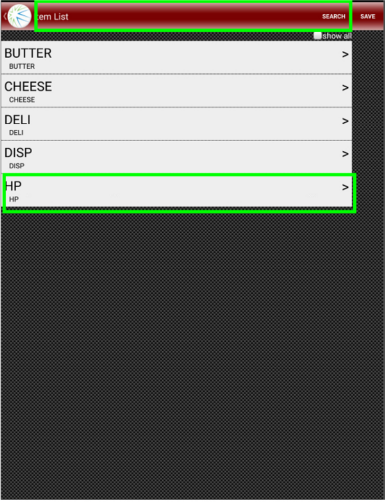
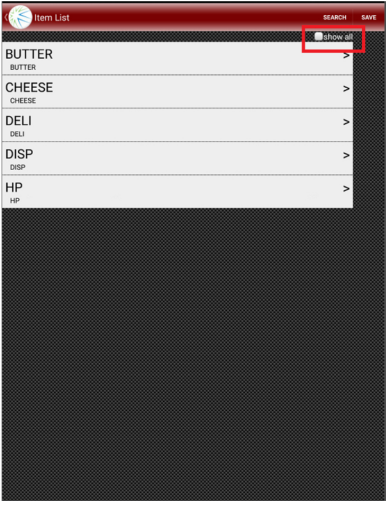
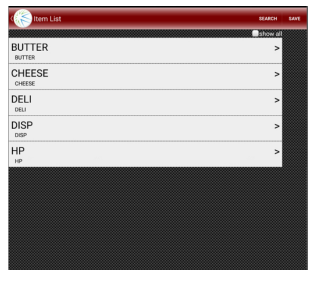
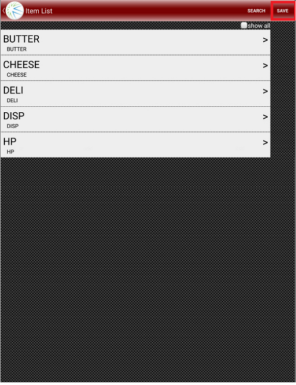
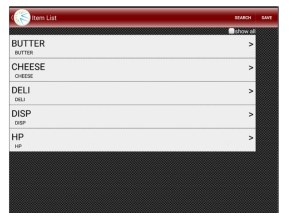
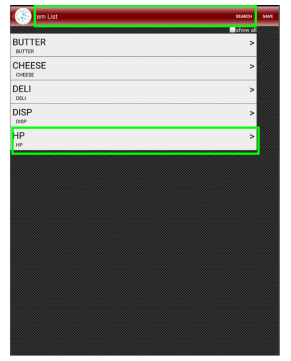
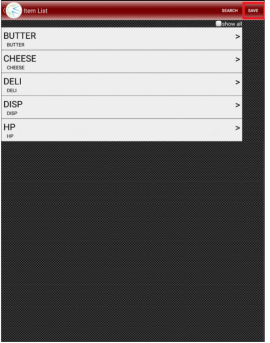
2. Product type will display of product on truck
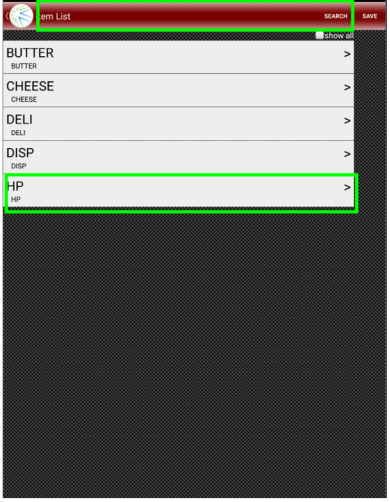
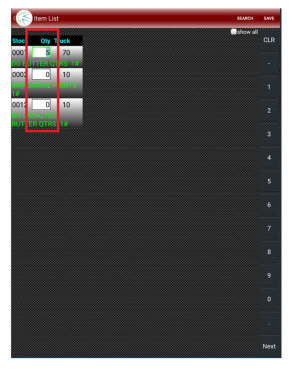
3. Select the product type item is assigned to or search for item
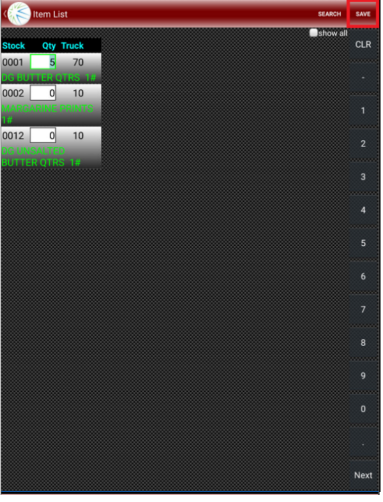
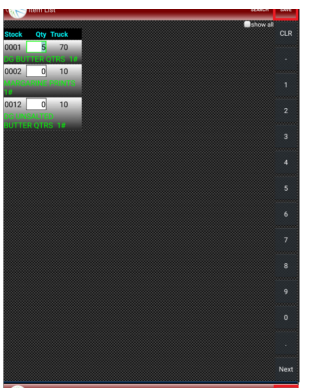
5. Press save (if using product type 2 times) DO NOT PRESS BACK AS IT WILL NOT SAVE
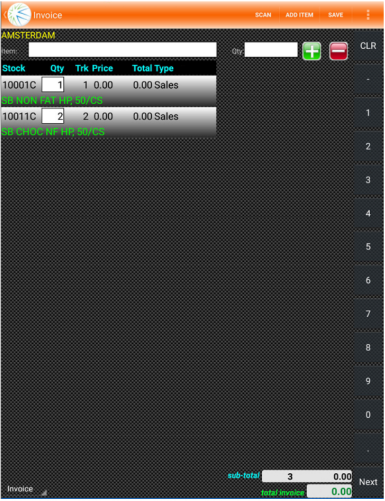
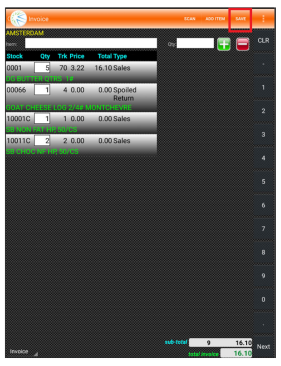
6. Device will return to invoice screen - new item will display as sales type
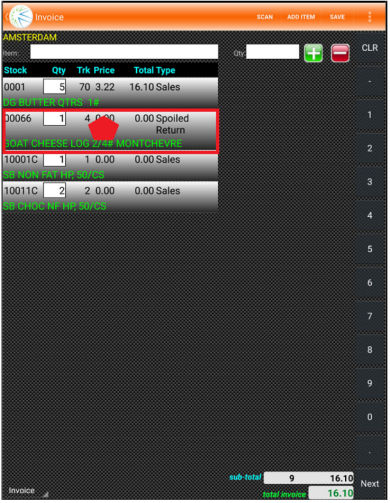
To Issues Credit on Delivery
2. Product type will display of product on truck or press show all
3. Select the product type item is assigned to or search for item
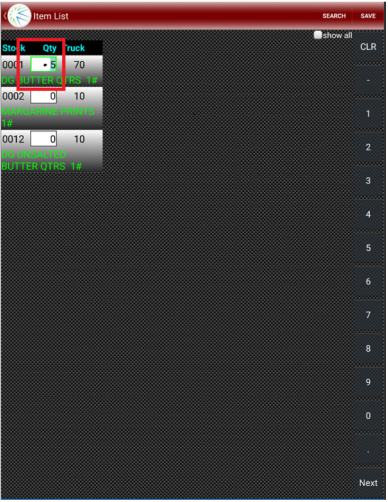
4. Enter qty as a negative amount(-5)
5. Press save (if using product type 2 times) DO NOT PRESS BACK AS IT WILL NOT SAVE
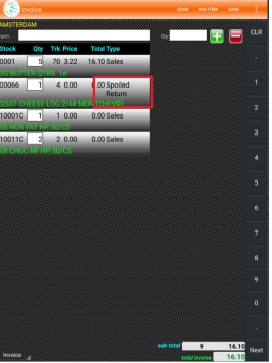
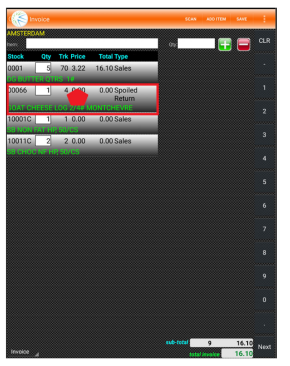
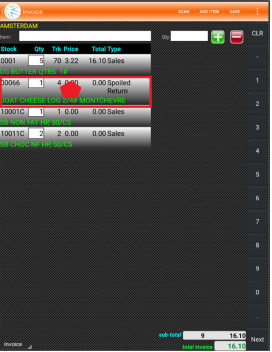
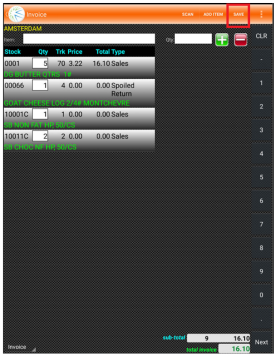
6. Device will return to invoice screen - new item will display as a return type
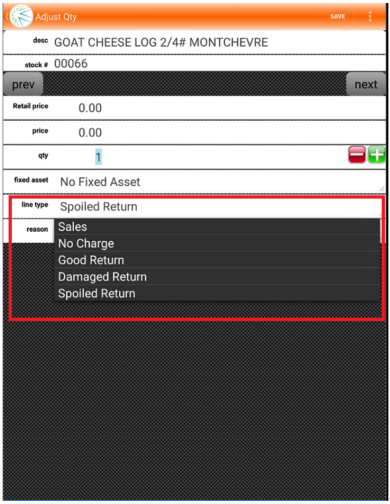
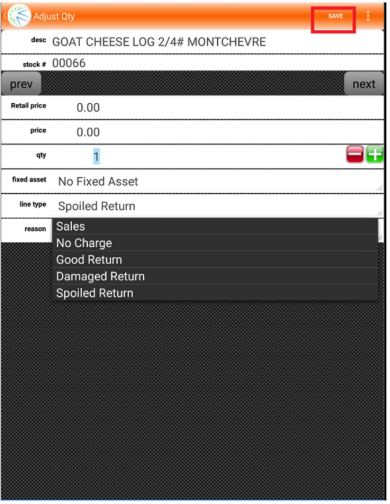
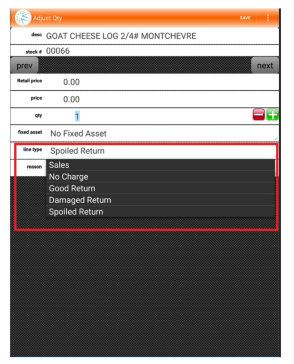
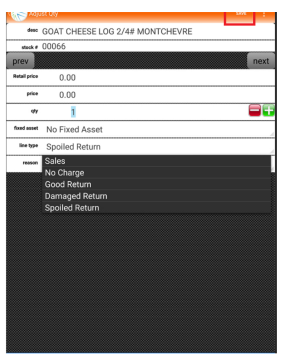
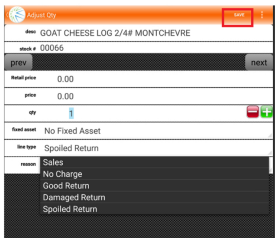
To Change default type of return
2. Select line type and choose from available options
3. Press Save to retrun to the invoice
To Complete Delivery
2. Enter in payment and press save
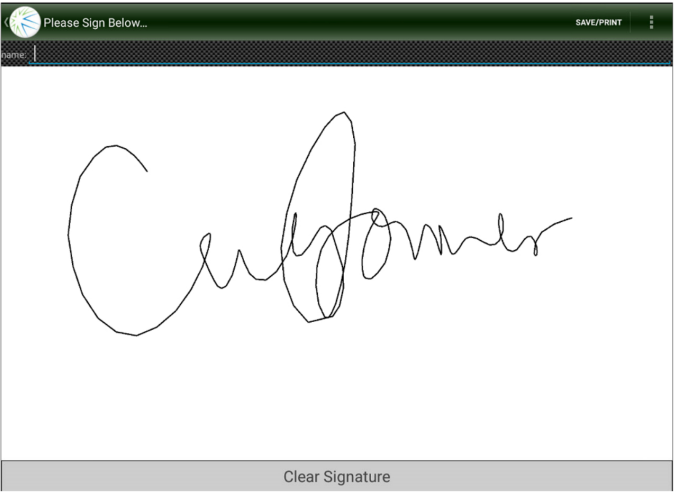
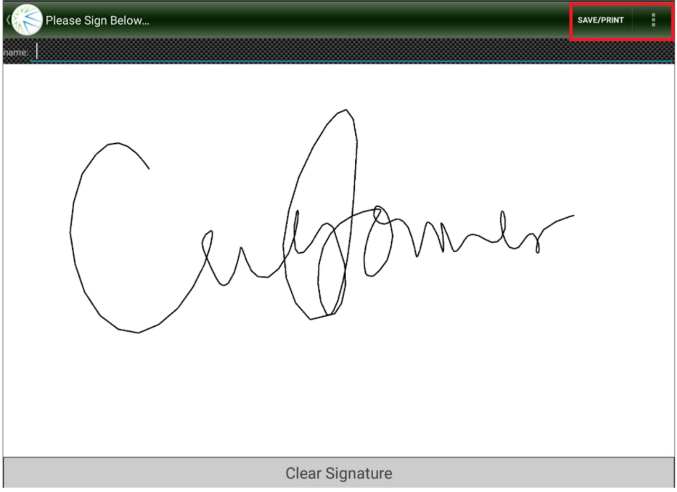
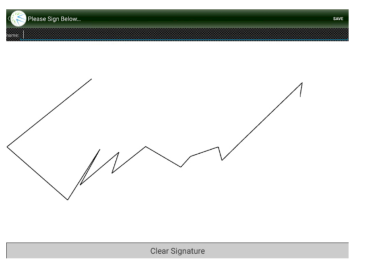
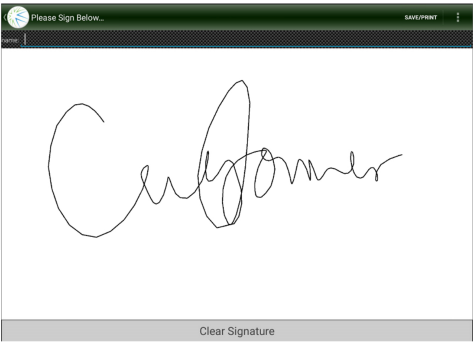
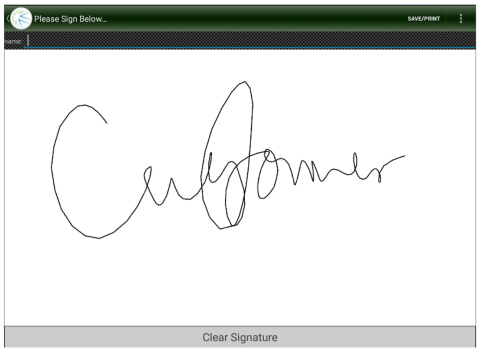
3. Customer signs invoice
4. Save Returns to route list
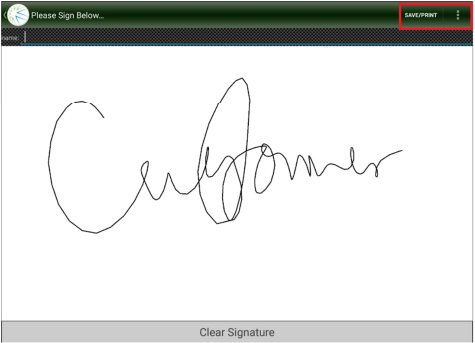
3. Customer signs invoice
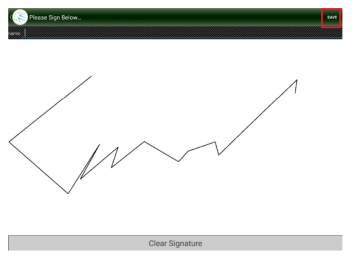
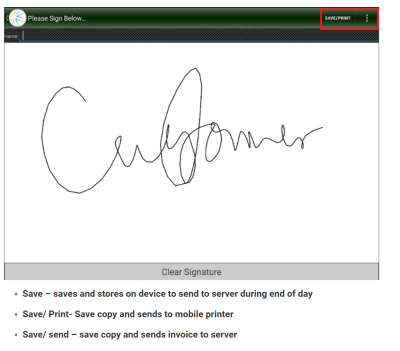
.Save - saves and store on device to send to server during end of day
.Save/Print - save copy and sends to mobile printer
.Save and send - save copy and sends invoice to server
To set pre sale QTY
1. Select the QTY box
2. Change the number to qty for delivery
2. Product type will display of product on truck
3. Select the product type item is assigned to or search for item
5. Press Save (if using product type 2 times) DO NOT PRESS BACK AS IT WILL NOT SAVE
6. Device will return to invoice screen - new item will display as sales type
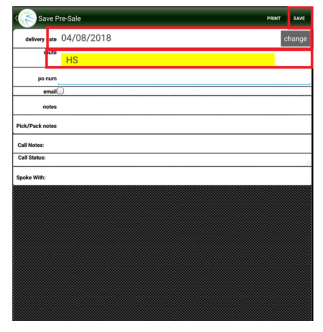
To Complete Presale
2. Enter the expected deliver date
3. Enter the route if known for delivery
4. Save - Returns to route list
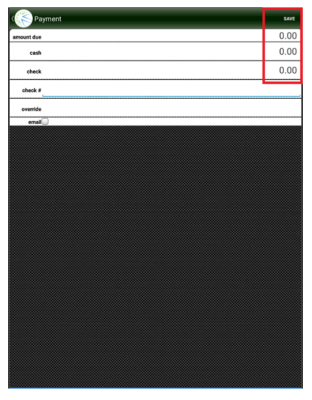
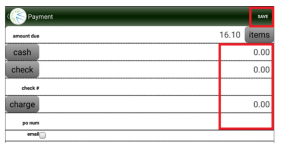
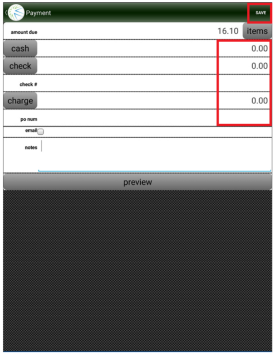
How to Accept a payment
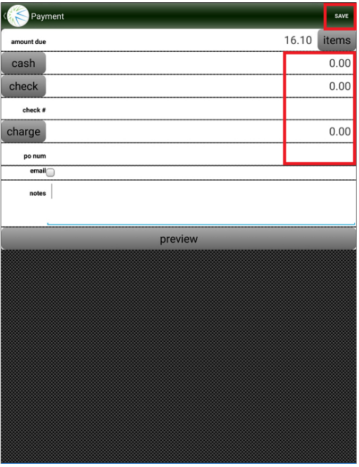
1. Press the payment button
2. Enter in payment
.Check reaquires a check number
.Cash amount
4. Customer signs payment
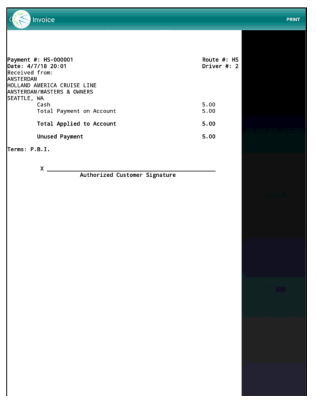
6. Preview of payment receipt opens
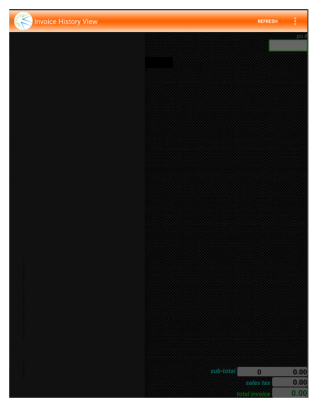
If invoices are available
1. Press the desired invoices
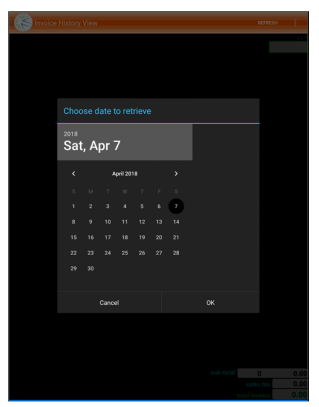
3. If no invoices are available (Must have data enabled device)
1. Press referesh
2. Set date to date in the past
3. Press ok
4. Device will retrive any past invoices available to date specified
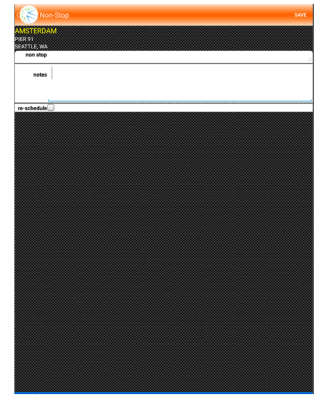
Non Stop - Used For Customer Refusing Load
1. Press not stop
2. Select a reason for non stop occurence
3. Enter notes
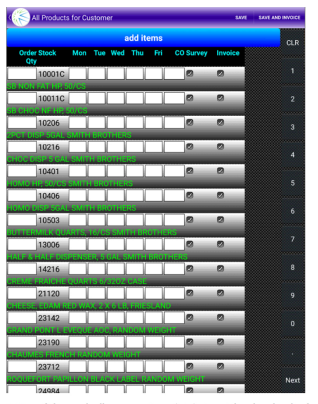
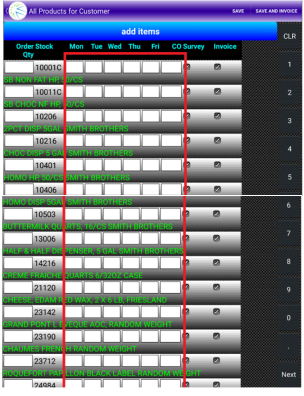
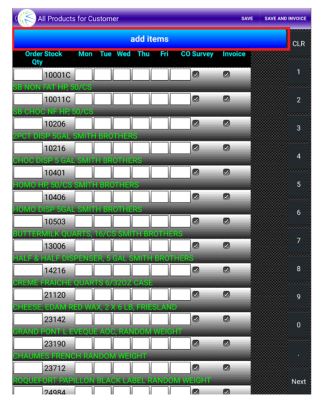
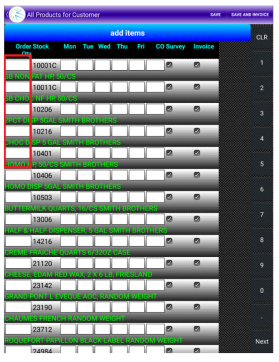
Products - Standard list of products customer purchase
2. Items customer has purchased will populate grid
3. Day of the week allows user to maintain target level and order from the window (Target Level is used as part of count/fill process)
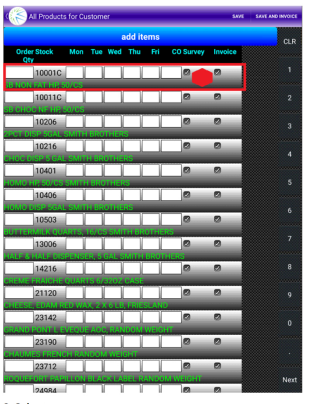
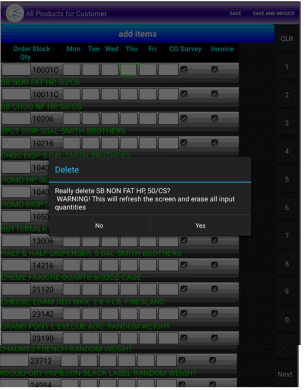
To remove a product from the product guide
1. Long press on the item
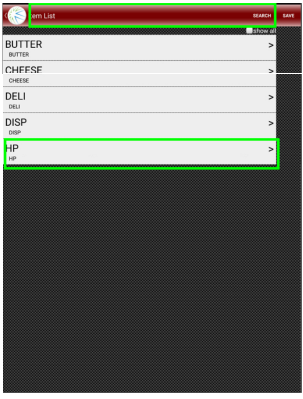
To add new items
2. Product type will display of product on truck
3. Select the product type item is assigned to or search for item
5. Press save (if using product type 2 itmes) DO NOT PRESS BACK AS IT WILL NOT SAVE
If not createing an order
1. Press save
2. Return to cusotmer or route list
If creating order from guide
1. Update order qty column
1. Press save and invoice
To change delivery QTY
1. Select the QTY box
2. Change the number of QTY for delivery
Add to delivery
2. Product type will display of product on truck
3. Select the product type item is assigned to or search for item
4. Enter qty as negative amount (-5)
5. Press save (if using product type 2 itmes) DO NOT PRESS BACK AS IT WILL NOT SAVE
6. Device will return to invoice screen - new item will display as a return type
To Change Default type for return
2. Select line type and choose from available options
3. Press save to return to the invoice
To complete delivery
2. Enter in payment and press save
.Check requires a check number
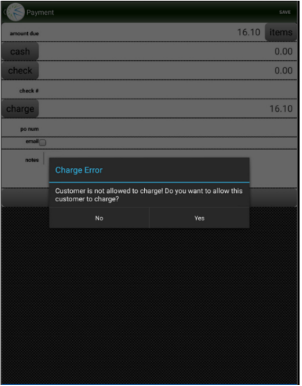
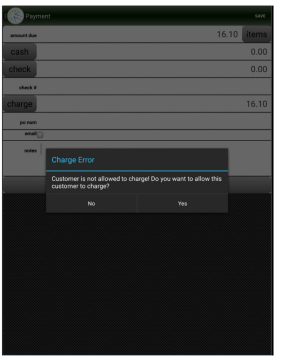
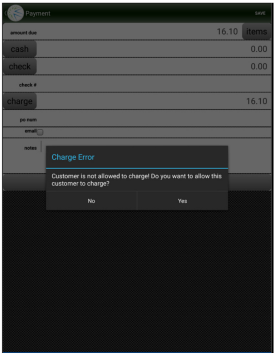
.Charge - if customer is not allowed to charge an alert will come up requesting to move forward or choose an another option
3. Customer signs invoice
4. Save retuns to route list
.Save - saves and store on device to send to server during end of day
.Save/Print - save copy and sends to mobile printer
.save and send - save copy and sends invoice to server
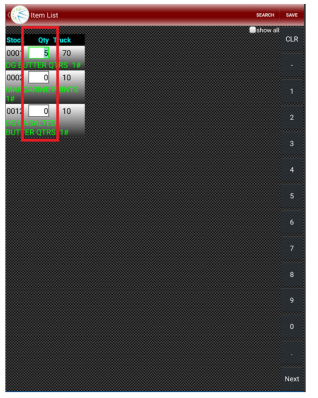
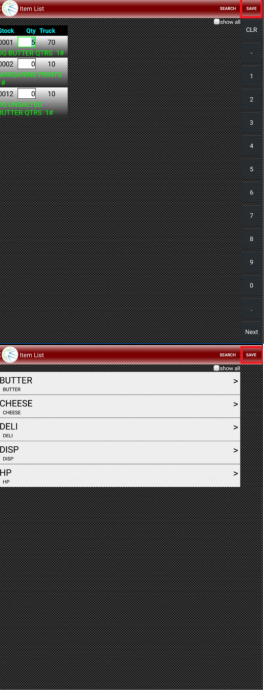
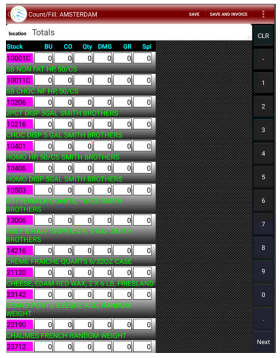
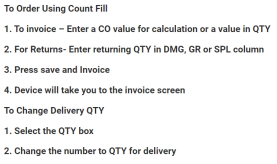
Count/Fill
1. Press count fill button
a. BU - Current target amdout from product guide
b. CO - Curent good products on hand at customer
c. QTY - Today's Calculated order BU-CO=QTY
d. DMG - damaged returns
e. GR - Good returns
To Change Default Type For Return
2. Select the line type and choose from available options
3. Press save to return the invoice
2. Enter in payment and press save
.Check requires check numbers
.Charge - If customer is not allowed to charge an alert will come up to requesting move forward or choose another option
4. Save - Returns to route list
.Save - saves and store on device to send to server during end of day
.Save/Print - save copy and sends to mobile printer
.Save and send - save copy and sends invoice to server